Graphics Programs Reference
In-Depth Information
Name
This allows you to name the selected layer.
Scene/Layer/Mask Layer
These three sets of
checkboxes let you choose which scene lay-
ers are used in your final renders and how.
Enabling a layer under Scene turns the layer
on in the 3D Viewport ( just as the layers check-
boxes in the 3D viewport header do). Layers
must be checked under Scene to be render-
able. Enable layers under Layer to make them
render for the currently selected render layer;
you can have multiple layers turned on under
Scene, but only those checked under Layer will
be rendered. Layers checked under Mask (but
not under Layer) will mask out geometry on
other layers, as shown in Figure 14-2.
Light
The Light option lets you specify a group
of lights to be treated as the only lights in the
scene when rendered.
Material
As discussed in “Clay Renders and Mate-
rial Override” on page 221, the Materials option
lets you override the materials for a scene with
a single material when rendering. We used this
option in Chapter 13 to produce a clay render
of the Bat Creature project in order to test the
lighting.
Include
This offers a number of checkboxes that
detail the types of surfaces and effects to be ren-
dered with this layer. For example, you can turn
on or off the rendering of
z
-transparent materi-
als, fur, or solid materials.
Passes
Within a layer, Blender can render other
kinds of information and split up aspects of an
image into different passes, such as shadows,
environment lighting, and
z
-depth (the distance
from the camera). This pass then contains only
that data that can be used in compositing the
final image. For example, you could use the
z
-depth pass as the input for a Defocus node
to create depth of field, or you could use an
ambient occlusion pass to add extra shadows to
an image. Use the checkboxes under Passes to
enable or disable various passes. Some passes
can be excluded from the main render pass
by toggling the camera icon to the right of the
pass's name.
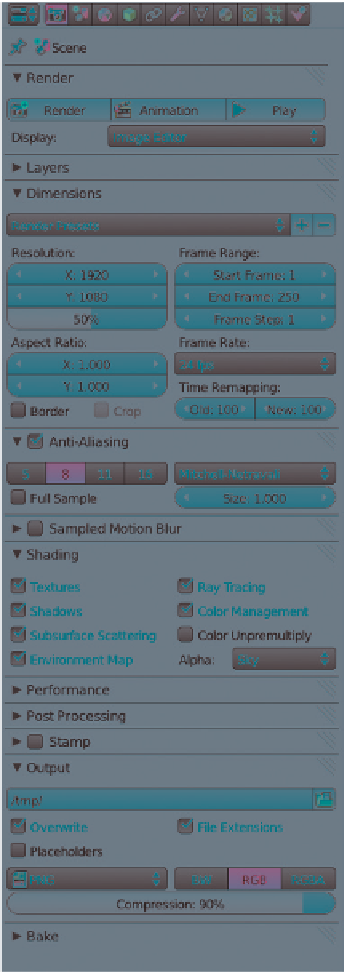
Figure 14-1: The Render tab of the Properties
editor, shown here in Blender Internal
Layers Panel
The Layers panel contains tools and options for cre-
ating different render layers and for choosing which
scene layers contribute to your final renders. At the
top of the panel, the Layer selector lets you select
the render layer to work on. Use the checkboxes
on the right to enable or disable rendering particu-
lar layers; use the
+
and
-
buttons on the right to
add or delete render layers.
Dimensions
This panel lets you set the dimensions in time
(frames) and space (resolution) of your render or

Search WWH ::

Custom Search