Graphics Programs Reference
In-Depth Information
the body (see Figure 9-8), adding some peaks and
scruffy areas as well. By default, when you comb hair
in Particle mode, it's deflected by the emitter mesh,
making it easy to comb it along the mesh's surface.
(You can turn this off using the
Deflect Emitter
option
from the Tool Shelf, if you wish.) If the hair in an
area gets a bit too flat, use the Puff tool to fluff it
back up. (The Puff tool causes the hairs to repel one
another and generally spread out.)
To control the length of the hair strands,
the Length and Cut tools are the most useful. The
Length tool allows you to grow or shrink hairs to
adjust their length, while the Cut tool cuts them
back away from the brush as you make strokes with
it. The Cut tool will also completely remove a hair if
you cut it right down to the base, so this is a useful
technique for getting rid of awkward hairs that are
causing your child particles to behave strangely. (If
it's difficult to see the base of a strand, try switching
to wireframe view and zooming in.)
You can also add extra hairs using the Add
brush, which creates new hairs wherever you stroke.
Turning on the
Interpolate
option (usually advisable)
causes new hairs to follow the direction of surround-
ing ones that already exist, which comes in handy
Particle Mode
Having set up a basic hair system, you can edit it in
Particle mode (see Figure 9-8), using a variety of
tools that let you grow, comb, cut, and smooth your
hair or fur, as well as add or delete hairs.
You can switch to Particle mode from the mode
drop-down menu in the header of the 3D Viewport.
Once in Particle mode, the hair particles in the cur-
rently selected particle system become editable. (At
the same time, you will no longer be able to edit the
Particle Emission settings in the Properties editor,
unless you click Free Edit at the top of the Particle
Settings tab to scrap your edited particles and start
again.) Similar to Sculpt mode, Particle mode brings
up a list of brushes in the Tool Shelf on the left of
the 3D Viewport, along with some options for how
these brushes affect your particles.
Shaping Your Hair
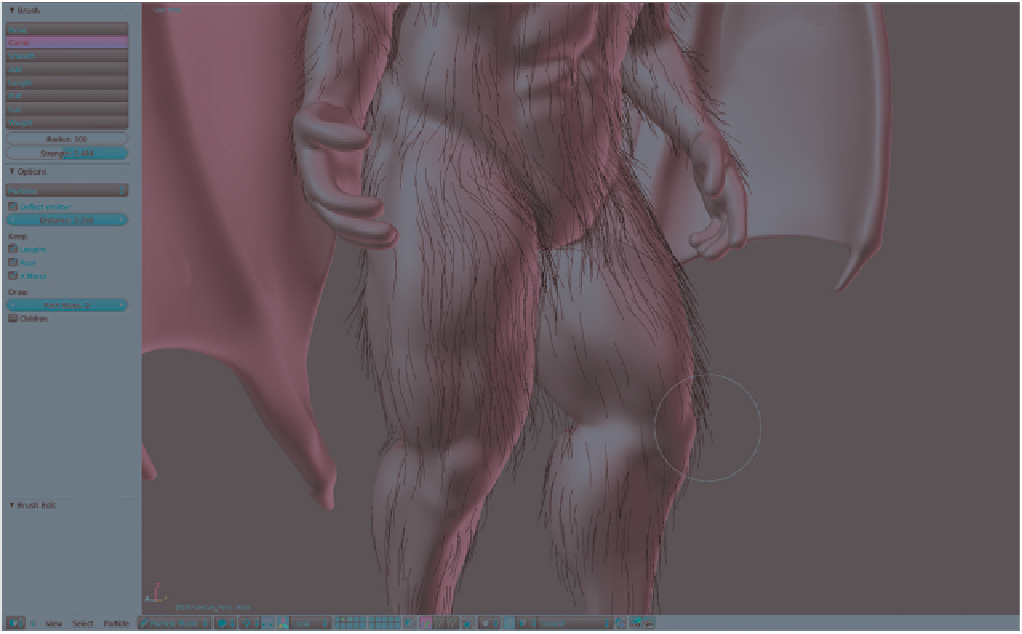
In Particle mode, I began shaping and styling the
hair for the Bat Creature using Blender's particle
brushes. I first used the Comb tool to flatten the
hair and get it to flow along with the contours of
Figure 9-8: Combing fur in Particle mode
Search WWH ::

Custom Search