Graphics Programs Reference
In-Depth Information
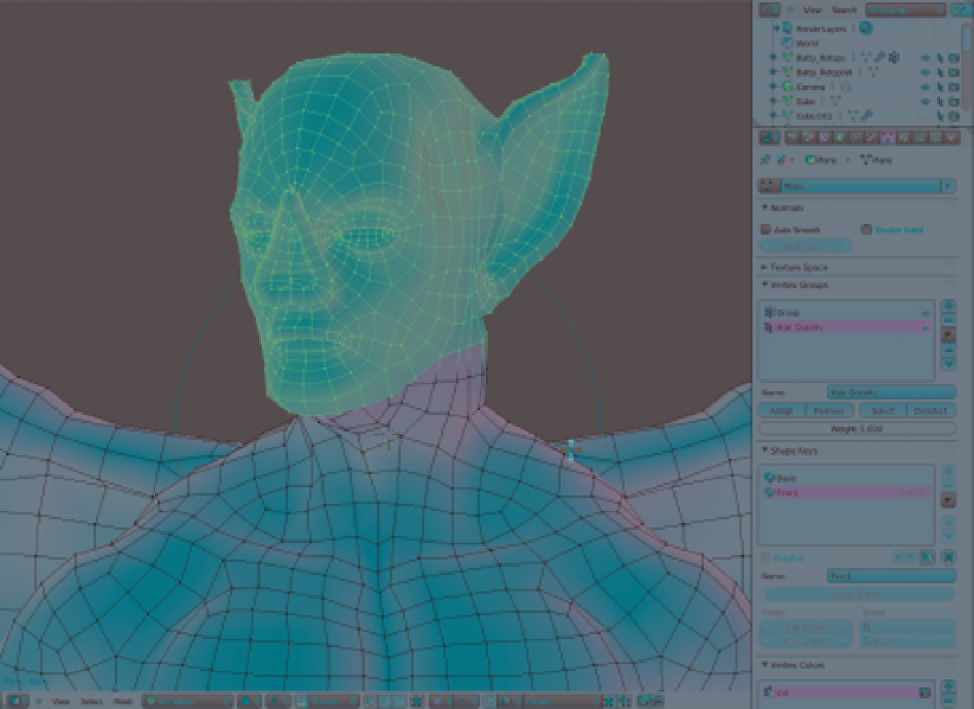
Figure 6-33: Adjusting the character into a new pose. I have selected the vertices of the head and then placed the 3D cursor
at the base of the neck to allow me to turn the head slightly by rotating the selection about the 3D cursor with proportional
editing enabled. Keeping this new pose as a shape key allows you to change your mind later and return to the standard pose.
Figure 6-32) by grabbing the sides of the nose and
shifting them up slightly, pulling up the upper lip
a bit, and narrowing the eyes. Adding some creases
in those areas where the face is scrunched up and
smoothing out stretched areas complements the
details already added.
While Blender can't quite polish hard surfaces
and sharp edges to perfection, you can accomplish
a lot with the Flatten and Polish brushes along with
the Pinch and Crease brushes. Then you can use
retopology to create a finalized model with clean,
smooth forms. By focusing on forms first and topol-
ogy later, you reduce the hassle of trying to model
forms you are not yet sure about and get your objects
curving smoothly with clean topology later.
Sculpting the Spider Bot
The Spider Bot was sculpted like the Bat Creature
by first blocking out the major forms with the Clay
and Grab brushes, then refining planes and adding
details. However, in the case of the Spider, I had the
added complexity of trying to create hard-surface
forms. While you could model these sorts of forms
directly (often an excellent approach), sculpting
some aspects of hard-surface forms allowed me to
be more experimental when creating our model.
Body
Beginning with the Spider Bot's body, I used the
Crease tool to roughly mark where I wanted the
edges of my hard surfaces to fall. I next used the Clay
brushes (the custom Clay Tubes brush is excellent for
this purpose) to build up the volumes around these
lines, and I used the Polish and Flatten brushes to
refine them (see Figure 6-34).
Search WWH ::

Custom Search