Graphics Programs Reference
In-Depth Information
9.
Click the upper-right corner of the sketch, and drag it to the left.
Notice how the length still remains 30 mm. You can move other ele-
ments as well.
10.
In the Constrain panel, find the Perpendicular Constraint tool and
start it.
11.
Click the top and right lines to apply the constraint.
The curved arrow will disappear, showing that the angle of the
right line can no longer change.
12.
Find and start the Horizontal constraint.
13.
Click the center point of the sketch, and then move to the middle of
one of the vertical lines.
14.
When its midpoint highlights (turns to a green dot), click it, and the
two points will align to one another.
You will also see a dramatic effect on the degrees of freedom of the
sketch. A more subtle change will be a difference in the color of the
lines that are now constrained.
15.
Find and start the Vertical constraint.
16.
Select the center point and the midpoint of one of the horizontal lines.
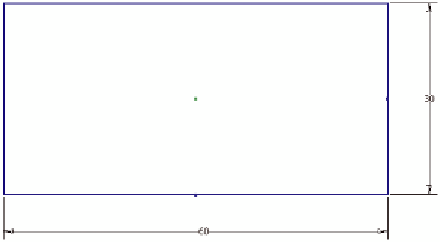
All the degrees of freedom of the sketch will disappear, and the
status bar will report that the sketch is fully constrained, as shown
in Figure 3.9. The icon for the sketch in the browser will also change,
adding a tack when it is fully constrained.
In cases where you
want a square cen-
tered in the sketch,
you might consider
using the Polygon
tool with four sides
or a Two Point
Center Rectangle.
FIGURE 3.9
The fully constrained sketch
17.
Press the Esc key to end the Vertical constraint tool.
18.
You can use the Hide All Degrees Of Freedom tool in the status bar to
turn off the display for future sketches, if you would rather not see them.


Search WWH ::

Custom Search