Graphics Programs Reference
In-Depth Information
13.
Close the Render Image dialog box.
14.
Close the assembly file without saving changes.
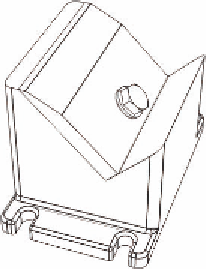
FIGURE 13.8
An illustration
developed after a few settings changes
Even with basic changes to the options, the results are dramatically different.
Next, you will see how to make changes that will help you create your own scenes
and lighting to add more options.
Building Options to Refine Scenes
To add details and improve the appearance of renderings and animations, you
need to expand upon the included library of appearance options, lighting, and
scene styles as well as building cameras and local lights.
Customizing Appearance for Rendering
With three color libraries included in Inventor, it is easy to find an option that
makes your components look good. Sometimes, you might want something just
a little different. You can apply an appearance to a component and then modify
that appearance to create a custom look.
1.
Verify that the 2013 Essentials project file is active, and then open the
c13-02.iam
file from the
Assemblies\Chapter13
folder.
2.
Click the Tools tab and pick the Appearance tool from the Material
and Appearance panel.
3.
Click the arrow next to Inventor Material Library in the bottom-left
column to display the available appearance options.
4.
Click Metal to show the appearance swatches in the right column.

Search WWH ::

Custom Search