Graphics Programs Reference
In-Depth Information
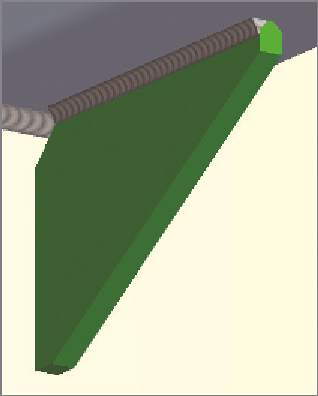
FIGURE 12.6
Adding an end fill
improves the appearance of the welds.
Adding a Groove Weld
Groove welds are used for filling gaps between parts. The direction of the gap to
be closed is established in the dialog box. There is another interesting option on
which this exercise will focus—the radial gap.
1.
Make certain that the 2013 Essentials project file is active, and then
open
c12-04.iam
from the
Assemblies\Chapter12
folder.
2.
Access the weld tools by clicking Welds from the marking menu or
from the Process panel on the Weld tab.
3.
Click the Groove Weld tool from the Weld panel.
4.
Click the exterior cylindrical face of the red part for Face Set 1.
5.
Click the selection icon of Face Set 2, and then click the cylindrical
face of the hole in the blue part around the red part.
6.
Select the Radial Fill check box in the Fill Direction group. This will
present the preview shown in Figure 12.7 of a weld closing the gap
between the parts.
Multiple faces can
be selected for the
groove weld to create
an extended area.
7.
Click OK to create the groove weld.


Search WWH ::

Custom Search