Game Development Reference
In-Depth Information
Creating the start and finish line flags
To mark the starting and ending location of the race, we will create a giant flag Prefab
and instance it in both places. The banner of the flag will have cloth physics to give it
an interesting motion. If you are targeting a lightweight device such as a phone, feel
free to simply replace the cloth object with a flat plane if performance is an issue in
your application. In order to create the start and finish line flags, we need to perform
the following steps:
1. Create two cylindrical game objects. Set them three units apart from one an-
other, and scale them up to a
y
value of
6
. Name these as
pole1
and
pole2
.
In the scene view, you should see something like the following figure:
2. Create a cloth GameObject. It will appear as a flat plane in its initial position
in the editor, but when you play the game, the cloth simulation will apply the
motion.
3. Scale and rotate the cloth object so that it faces the ground at right angles.
Scale the object so that it penetrates both poles. This will allow us to attach
the cloth to the poles so that the physics simulation results in a draping ban-
ner.
4. Create an empty GameObject, and place it at ground level between the two
poles. Name it
GiantFlag
.
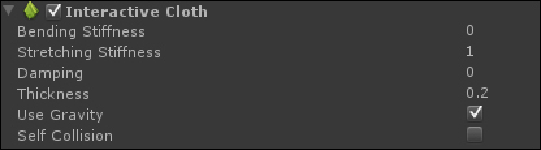
5. Select the cloth object, and make sure the
Use Gravity
checkbox is selected.