Information Technology Reference
In-Depth Information
IV
1.
Go to http://windows.php.net/download.
2.
Select the
php-<current-version>-Win32-VC6-x86
installer to work well with Apache.
3.
Save this file to your hard drive.
4.
When the download is complete, run the installer program. After accepting the license, you're
asked where to install the software. If you are running XAMPP, choose
C:\XAMPP\php
; other-
wise, installing to the default folder is fine.
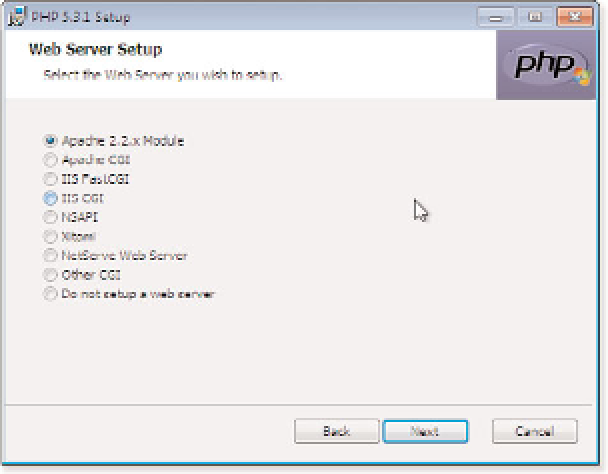
5.
The installer asks what type of web server you are running and how PHP should relate to it.
Choose the Apache 2.2.x Module (as shown in Figure 15.1) and click Next.
6.
When you do that, the installer asks where the Apache configuration files are located. In
XAMPP, this is
XAMPP\apache\conf
. Click Next.
7.
Choose the modules you want to install. Accepting the defaults is OK, though you can also
install the PHP Manual in the Extras module. Click Next and then click Install to complete this
process.
Figure 15.1
Connect your new PHP installation with the
Apache server.
It's a simple process to confirm that PHP is properly installed on your system. Open a text editor
and write this line:
<?php phpinfo(); ?>
Save the file as
C:\XAMPP\htdocs\test.php
. Now open your web browser to http://localhost/
test.php. The PHP info page should appear. If you don't get the PHP info page, make sure the script
was typed correctly, and then see if Apache is running by going to http://localhost.
Look carefully at the info page. You will see which PHP extensions are installed, where your
php.ini
configuration file is stored (XAMPP stores this in
C:\XAMPP\php
), and a fairly detailed
configuration report.