Information Technology Reference
In-Depth Information
IV
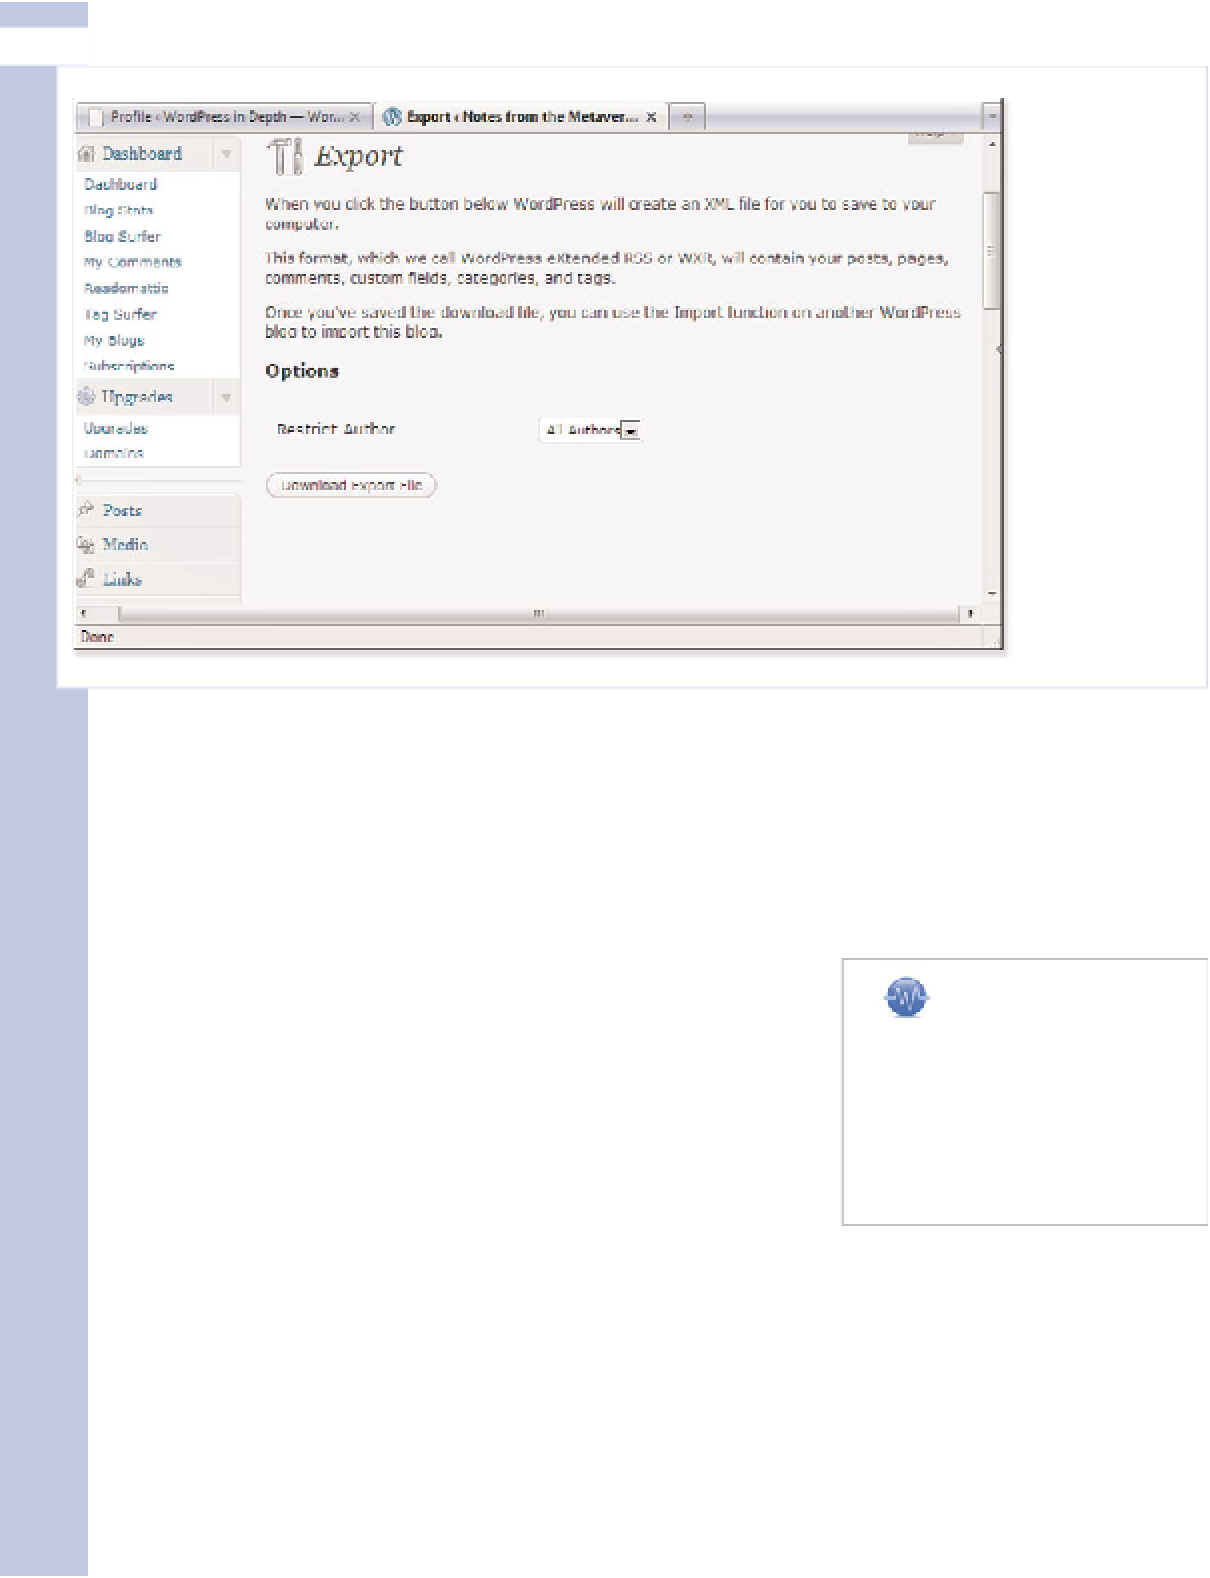
Figure 11.12
WordPress
explains
what's
included in
the export
file.
3.
If you have multiple authors for your blog now, and are going solo (or some of your coauthors are
not migrating with you to the new digs), use the Restrict Author drop-down menu to identify
who to exclude from the export.
4.
Click Download Export File. Tell your browser where to save this file. It doesn't matter where
you save the file, but you may want to put it in the same folder you upload to your other site.
5.
Go back to the new blog, and log in to your WordPress.org Dashboard.
6.
Scroll down to the Tools menu again and click Import. The
Import page shown in Figure 11.13 opens.
tip
As you can see from this list, you
can import content from quite a
few blogging platforms into
WordPress. Find out more in
Appendix F, “Importing Content
from Other Systems.”
7.
Down at the bottom of this list is WordPress. Click the link.
8.
Use the Browse button to locate the Export file (with a
*.wxr
extension) on your system. Click to select it.
9.
Click the Upload File and Import button, and WordPress does
the rest.
WordPress reloads the page and confirms that all your materials have been imported. You should
now see that material in your Dashboard, and in your blog.