Information Technology Reference
In-Depth Information
IV
•
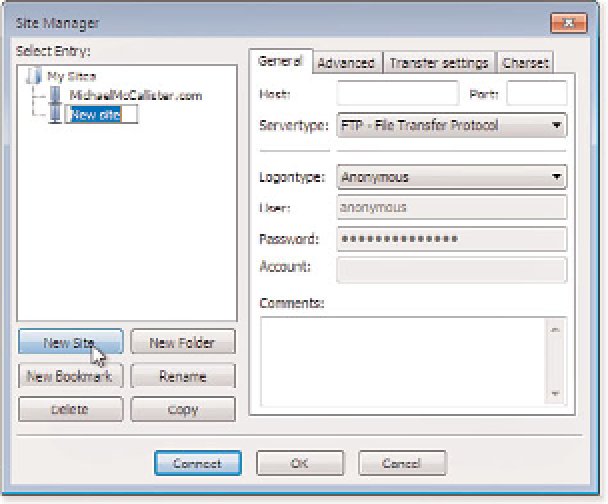
Password
—This is where you supply your password. It is usually identical to your site
password.
Your host might have you fill in the Account line, and you can add information in the Comments
section.
Figure 11.2
Use the General tab on the Site
Manager dialog to set up an
FTP connection to a web host.
5.
Click the Transfer Settings tab. Select the Passive button. In Passive Mode, the client sets up all
the data flow. This is more secure, especially if your firewall stops any data trying to pass
through it from outside the network.
6.
Click the Advanced tab (see Figure 11.3). Your host might want you to set a Default Remote
Directory. This is the directory at the host server that appears when you log in. If you don't set
this option, you will likely enter a directory with your username. You could set up a WordPress
directory as the default too. Similarly, you might want to set your local WordPress directory as
the default local directory.
7.
Click Connect at the bottom of the screen. If your settings are entered correctly, you should now
be connected to your host server, and you can upload files. (When you're ready to disconnect
from the server, press Ctrl+D.)
When you have downloaded the latest WordPress files (see the next section), all you need to do is
point the Local Site section of FileZilla to the location of the WordPress files on your own computer.
Connect to your host (Remote Site) on the right side, and navigate to the directory where you want
to store WordPress. Figure 11.4 shows how FileZilla looks with both sides set up. If you're ready to
transfer all the WordPress files, press Ctrl+A to select them and then drag them over to the right
side to begin the transfer.