Graphics Reference
In-Depth Information
6.
Now, to make it easier to move the sprite sheet, activate the Timeline grid
with 10 fps grid increments. This grid works together with Timeline snap-
ping to exactly position the individual images. Now we can create a new
keyframe for each image and move the sprite sheet horizontally along each
position to process all the walking sequence frames.
7.
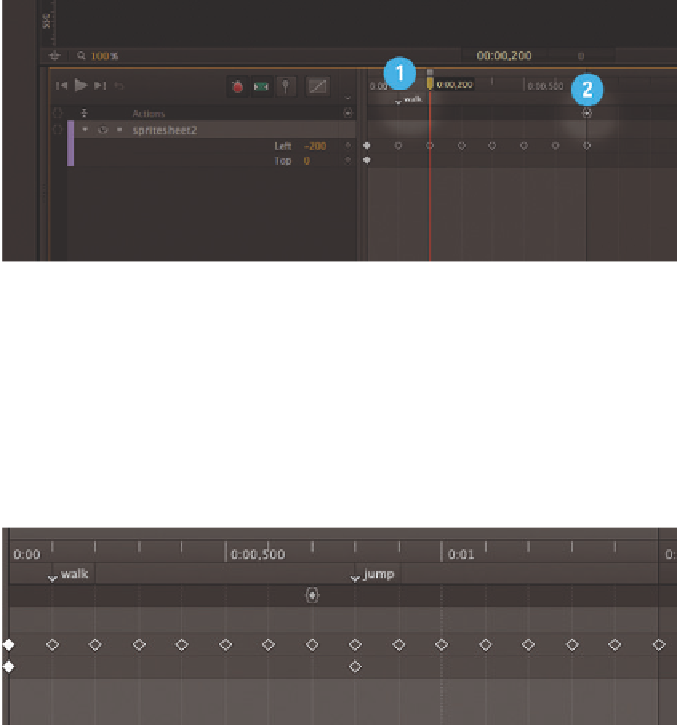
Generate a continuous loop for the walking sequence by adding a label
(named “walk”) to the second keyframe, which is the first image of the walk-
ing sequence. At the last image, we set a trigger that uses the command
sym.play ("walk") ;
to create the animated loop. When the compo-
sition starts in the browser, we can already see the figure walking in place.
Figure 4.31
The walking sequence as a continuous
loop
8.
Now we build out the movement sequence with the jump. To do this, move
the sprite sheet vertically upward to view the second line. Move the sprite
sheet across the images, creating a keyframe for each one as we proceed.
Finally, add another label, called “jump,” so that we can activate the jumping
sequence later. Because the animation is set up as a continuous loop, the
jump sequence never runs independently. This completes the steps for
creating the character's movement sequence.
Figure 4.32
Labels for the walking and jumping
sequences