Graphics Reference
In-Depth Information
4.
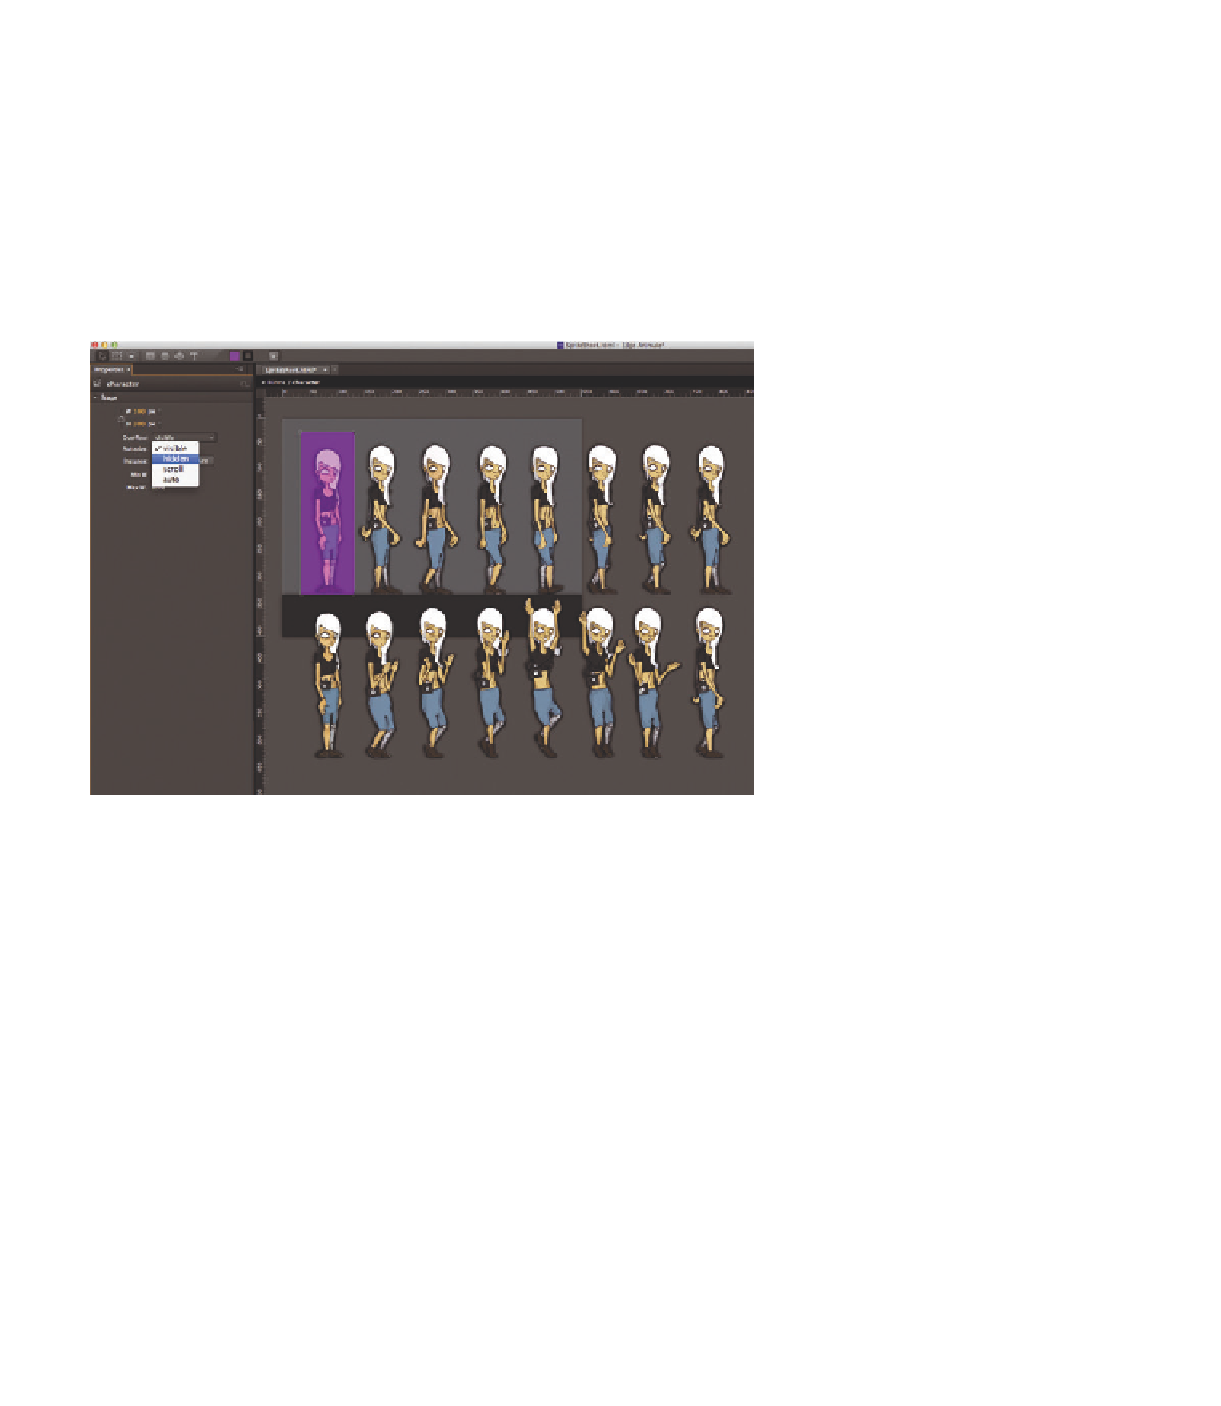
Convert the shape into a symbol and call it “character,” leaving the Autoplay
Timeline box checked. Once the symbol is created, double-click on it to
open it, and to place the sprite sheet that was created in Photoshop earlier.
Position it directly on the top right coordinate origins so that the first
character is located exactly in the center of the symbol boundaries. Since
we want to use the keyhole effect to always only depict one figure, set the
symbol's Overflow property from
visible
to
hidden
. In this way, the figures
outside of the symbol borders are not displayed. Finally, remove the colored
area.
Figure 4.30
The final character sequence
5.
Now we start to work on the actual animation sequence. First, manually set
a keyframe for the x-coordinate at the beginning of the Timeline, within the
symbol. This defines the position of the sprite sheet for the first image and
ensures that it is not set in the next step (through an automatic keyframe)
with an incorrect value.


