Graphics Reference
In-Depth Information
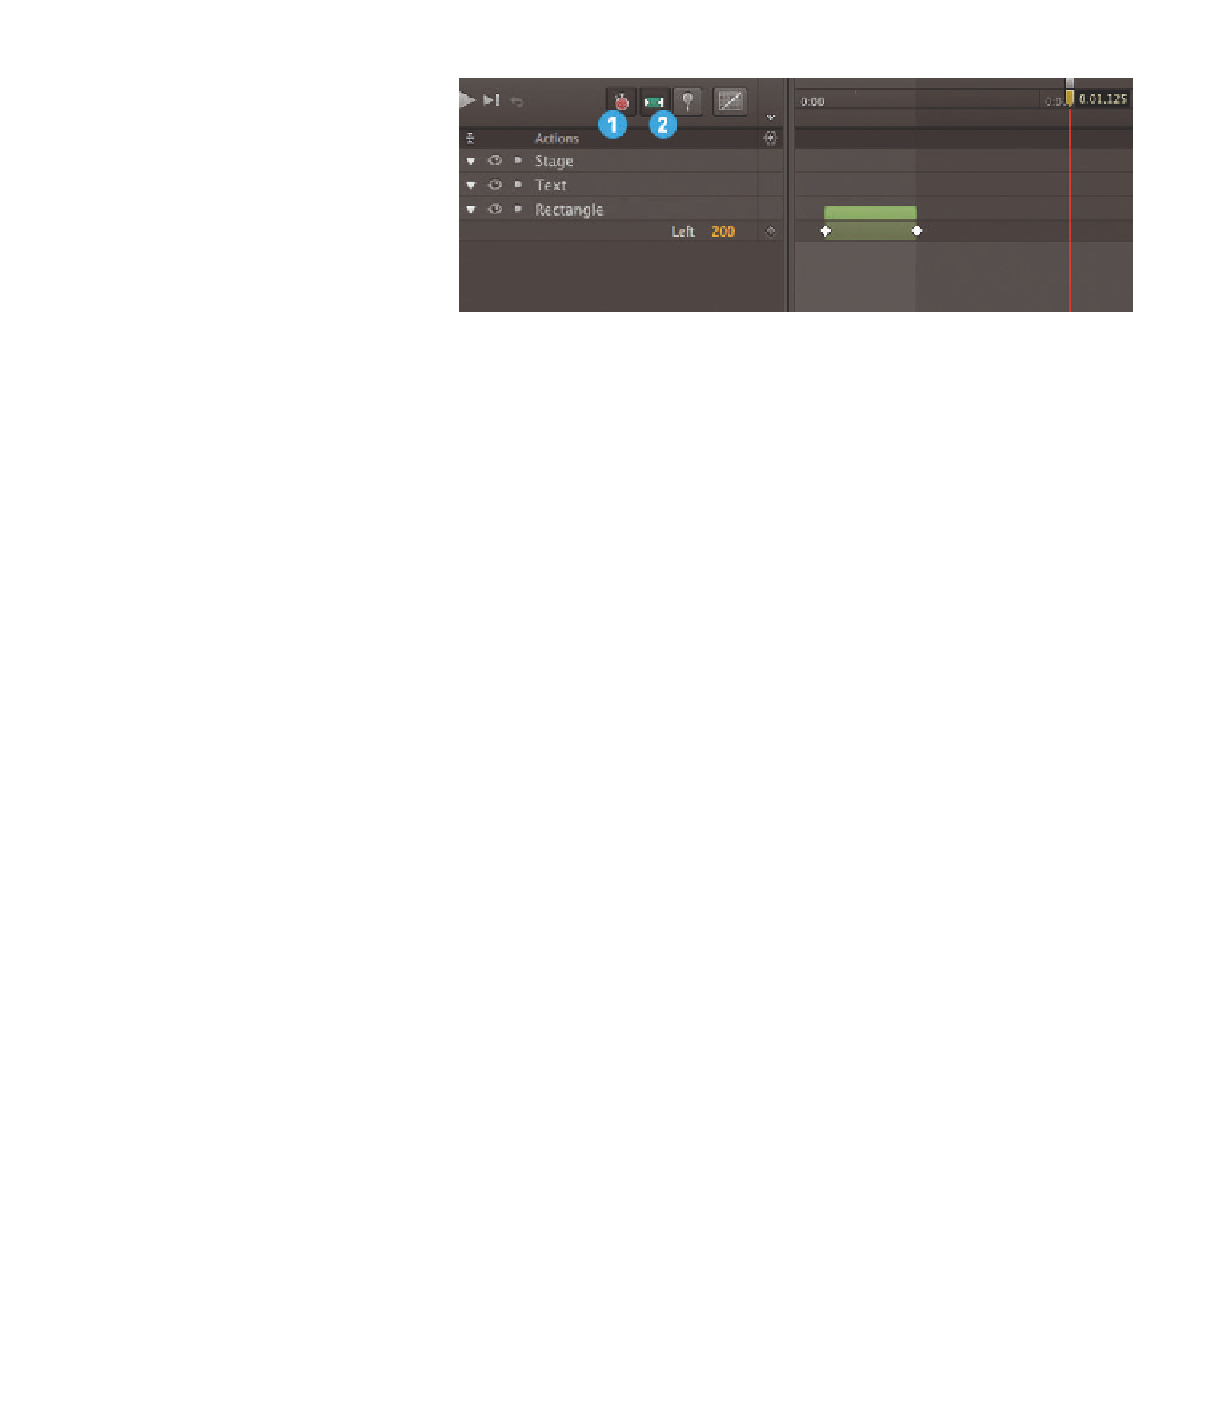
Figure 4.3
(1) Auto-Keyframe Mode
(2) Auto-Transition Mode
Setting keyframes with the Pin •
The Pin is a second imaginary playhead that
makes it easy to create an animation between two points in the Timeline. When-
ever you want to animate up to or after a point in time, the Pin is the right tool.
There are three ways to activate it. Firstly, the Timeline menu contains a Toggle
Pin command for activating the Pin.
You can also enable or disable the Pin by double-clicking the main playhead,
or by toggling it on and off with the P key on your keyboard. Be sure to turn
off the Pin after creating the animation, otherwise you will accidentally create
unwanted keyframes. The figures below illustrate how to use the Pin.
(1) shows the normal mode with the Pin turned off.
Once the Pin is turned on (2), a small blue pin appears directly above the
yellow playhead.
Now the Pin can be moved anywhere on the Timeline (3). A shaded band
with arrows becomes visible. The bar in this example is blue because the Pin
is behind the actual playhead.
If you move an element or change its properties, the values are set at the
point on the Timeline where the red line and yellow playhead are positioned.
The initial state is pinned down where the Pin is located, adding a transition
in between the two states (4).