Game Development Reference
In-Depth Information
Mission Checklist
Before we start, we will need to get the project folder and assets from this topic's website:
http://www.packtpub.com/support?nid=8267
, which includes the finished project
from the first chapter and the assets that we need to use in this chapter. Browse to the
URL and download the
Chapter2.zip
package; unzip it, and we will see
Chapter2.
unitypackage
, which we will use to import to our second project in Unity.
Custom skin with GUI Skin
Those of you who are familiar with HTML will probably have a good understanding of using
a repeaing image for a background to reduce memory usage. Unity uses the same idea to
create a graphic for the user interface, which will save a lot of memory and size for our game.
In this secion, we will take a look at the GUI Skin, which is the main key to creaing a custom
skin in Unity.
Prepare for Lift Off
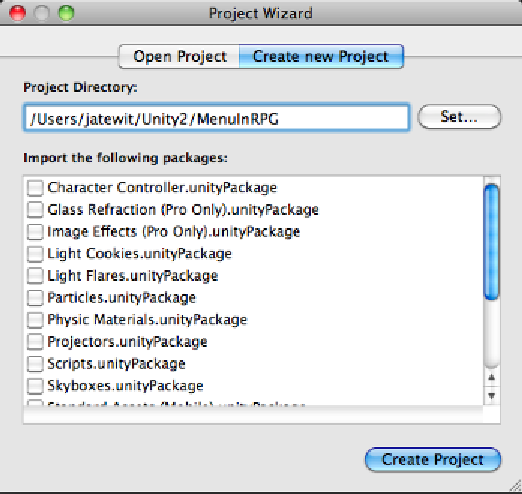
We will begin by creaing the new project in Unity. Let's start:
1. First, create a new project and name it
MenuInRPG
, similar to what we did in the first
chapter. Click on the
Create Project
buton, as shown in the following screenshot: