Game Development Reference
In-Depth Information
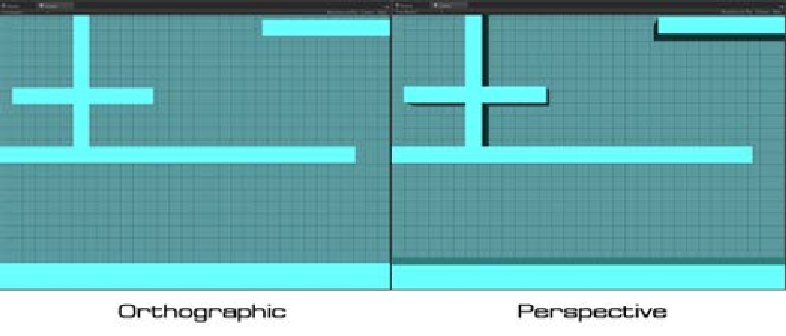
In our scene, we won't see any significant difference on our background object because our
background object is a plane and doesn't have any thickness on it, but if we are trying to
adjust the
Projection
of our camera, we will see the diference between the two projecions.
We can do this by going to the
Hierarchy
view, clicking on
Main Camera
, changing
Projection
to
Orthographic
, and
Size
to
8.5
, and then changing
Projection
back to
Perspective
. The
difference is shown in the following screenshot:
Creating a 2D character
In this step, we will create our 2D character and material, which will contain our 2D character
sprite sheet from our
Chapter1
package folder. We will have our character act out three
diferent types of animaion: staying, walking, and jumping.
Prepare for Lift Off
Let's make sure that we have all the sprites we need in the
project
folder:
1. Go to
Chapter1/Characters
where you will see three subfolders,
Jump
,
Stay
,
and
Walk
.
2. Open the
jump
folder. We will see the files
J_Frame1.png
,
J_Frame2.png
,
and
J_Frame3.png
. Next, open the
Stay
folder, we will see the
s_set.png
file.
Then, open the last folder
Walk
, we will see the
w_set.png
file as shown in the
following screenshot: