Java Reference
In-Depth Information
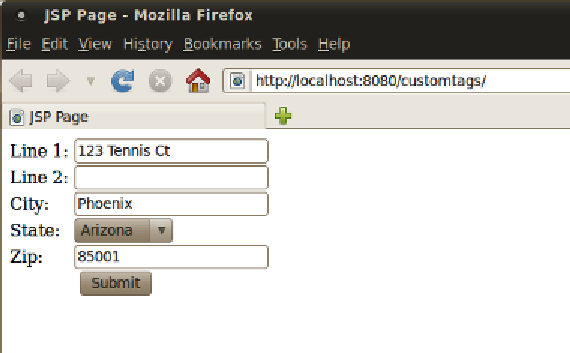
We run our project, and can see how our custom tag renders on the browser.
All of the form input fields were generated by our custom tag.
Custom JSP tags can contain a body (our example tag does not have one), in which
case the JSP markup invoking our tag would look like the following example:
<prefix:sometag>
<b>Hello there!</b> </
prefix:sometag>
If our tag contains
<jsp:attribute>
actions, we need to place its body between
<jsp:body>
and
</jsp:body>
tags.
Any HTML or JSP markup can be placed in the body of our tag. Our tag renders its
body by placing a
<jsp:doBody>
action in the location where we wish to render its
body.
Summary
In this chapter we covered how to use NetBeans graphical tools to add JSTL tags
to our JSP pages. We saw how JSTL can enhance JSP functionality while at the
same time making our JSPs more readable by minimizing the use of scriptlets.
We also saw how to develop our own custom JSP tags to encapsulate JSP markup
and functionality, and how NetBeans can generate an initial tag file, that we can
use as a starting point to develop our own custom tags.