Information Technology Reference
In-Depth Information
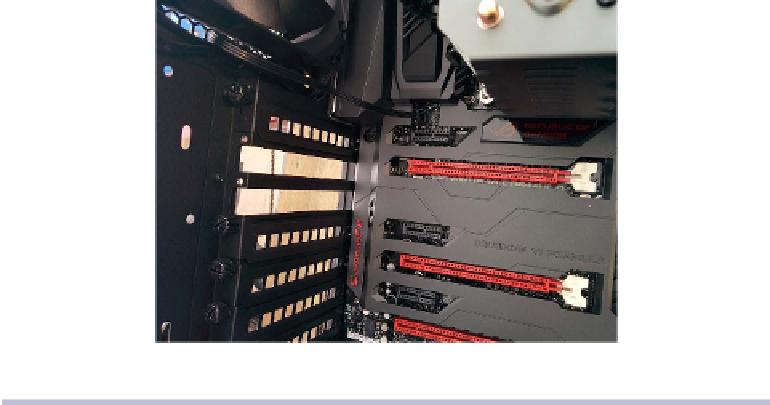
Figure 62—Remove the second and third slot covers to accommodate the graphics card.
With the card-slot covers removed, prepare the PCIe slot for insertion by
making sure the expansion slot's white locking tab is slid back to accommodate
the three-sectioned connector on the bottom of the graphics card.
Position the video ports on the front of the card so they are
accessible through the two slots we removed the covers from. Align
the connector on the bottom of the card with the PCIe slot. Then
slowly yet firmly seat the card into the slot.
You should feel and hear the slot's plastic locking tab click into place,
securing the card to the expansion slot. Refer to
Figure 63,
The GTX 780 Ti
how the card should look once properly mounted in the expansion slot.
Powering the Graphics Card
As mentioned earlier, the GTX 780 Ti is power-hungry. It has to be in order
to deliver the high frame rates and real-time rendering pipelines it can achieve.
It also has a large cooling fan to keep the GPU's temperature in check.
Therefore, in addition to the power it receives via its PCIe connection to the
motherboard, the GTX 780 Ti has two additional power connectors (an eight-
pin and a six-pin) on the top back of the card, as shown in
Figure 64,
The
Grab the two appropriate six- and eight-pin cable types from the bundle
included with the RM850. Plug them into the case and then into the PSU, as
run
, on page 63
.