Graphics Programs Reference
In-Depth Information
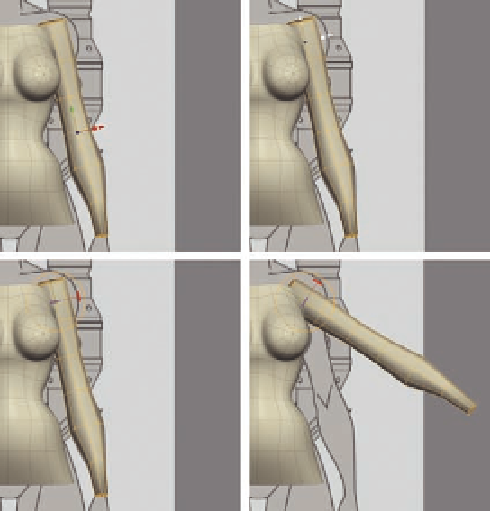
FIG. 5.54
M ove the manipulator so we can raise the arm.
●
Select both pieces of geometry and right click to bring up the context menu.
●
Select
Combine Objects
.
Now they are a single object, and we can begin to weld the shoulder area
together. Before we can do this, though, we need to remove the cap from the
upper arm.
●
Following Figure 5.55, select the upper cap faces and press
Delete
to open
up the upper arm.
We are not going to connect the arm to the top of our torso model; if we do,
the position of the shoulder will be too high. We need to make a hole in the
upper torso, around the armpit area, for us to connect the arm.
●
Select the polygon in the upper middle of the torso, just where the armpit
area would be, and delete it (Figure 5.56a).
●
Now use the
Merge tool
to connect the lower two vertices of the arm to
the bottom two vertices of the new hole (Figure 5.56b).
●
Move around to the front of the model and merge the two vertices just up
from the armpit on the arm and torso (Figure 5.57).
●
Next, following Figure 5.58, repeat this, but on the back of the shoulder,
merging the two vertices just up from the armpit area.
Finally, adjust the shape of the shoulder area to i ll it out and remove any
unnatural shapes (Figure 5.59). Use whatever method you like to edit and
move the vertices; again, the Tweak tool is a great place to start, and don't be
afraid to use the Smooth tool to soften the area.