Graphics Programs Reference
In-Depth Information
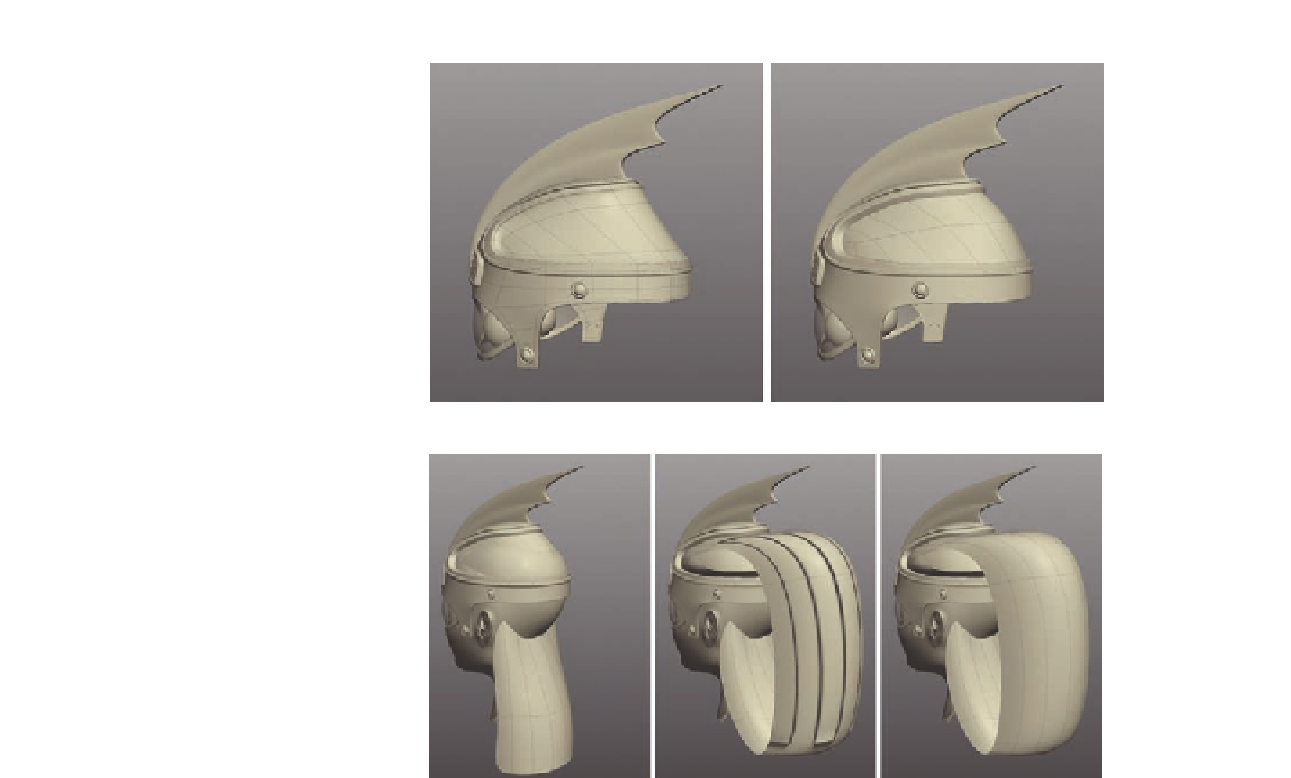
FIG. 11.1
Use the helmet to create
the starting point for the hair.
FIG. 11.2
Create the lower section of
hair before attaching it to the top.
Because the hair comes out from beneath the helmet, we need to make sure
the model sits neatly around the outside, so it makes sense for us to use the
helmet as a starting point.
●
Begin by i lling the hole on the top of her helmet (Figure 11.1a). Use
whatever method you like for this, but we recommend the
Bridge tool
.
●
Next, select the new polygons and
Break
them away from the helmet.
●
Finally, add a new division across the new geometry to round of the
shape ( Figure 11.1 b).
●
Now that we have the starting point for the upper section of her hair,
bring back the head model.
●
Create the lower section now (Figure 11.2a). This hair section can be a
relatively plain model. Give it eight divisions across so we can match it
with the upper section.
●
Extrude
the upper section now, deleting the new middle polygons so you
are left with the outer geometry pointing out.
●
Combine
the two elements of the hair and then
Extrude
the lower and
upper edges.
●
Bend these around so they join, and
Merge
the vertices so you end up
with something similar to that in Figure 11 2b.