Graphics Programs Reference
In-Depth Information
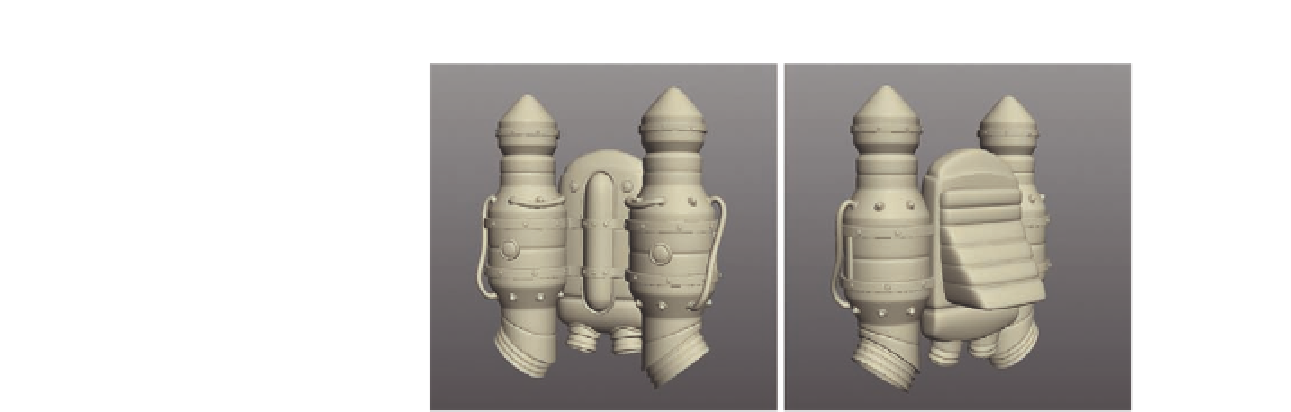
The i nished rocket pack.
FIG. 10.18
●
When satisi ed with your work, delete the jacket model, leaving you with
just the completed rocket pack in the scene.
Your model should look like that in Figure 10.18.
(You can i nd the Silo scene created in this section in Chapter10/Files/10_
RocketPack.sib.)
Further Details
With what you have learned in the topic so far, why stop here? You could use
your newfound sculpting knowledge to add in some bumps and scratches
across the rocket's surface.
Admittedly, these could be added with the help of a bump map once textures
are applied, so it comes down to personal choice, and how your system will
handle the extra data.
If you imagine the character, plus the rocket pack, all with tiny details added in
one scene, you get our point. If your system isn't up to it, you could be in for a
headache just trying to navigate around the scene.
For now we will rely on textures for damage detail, but if you are curious,
Figure 10.19 shows what you could sculpt into the rockets.
H e l met
To create the helmet, we will need a sphere. However, just as we did earlier
in the topic, we want this one to be constructed completely from quads to
eliminate any pinching.
●
Start by loading the i le
Chapter10/Files/10_HeadBase.sib
. We can use
this to help us form the shape of the helmet.