Graphics Programs Reference
In-Depth Information
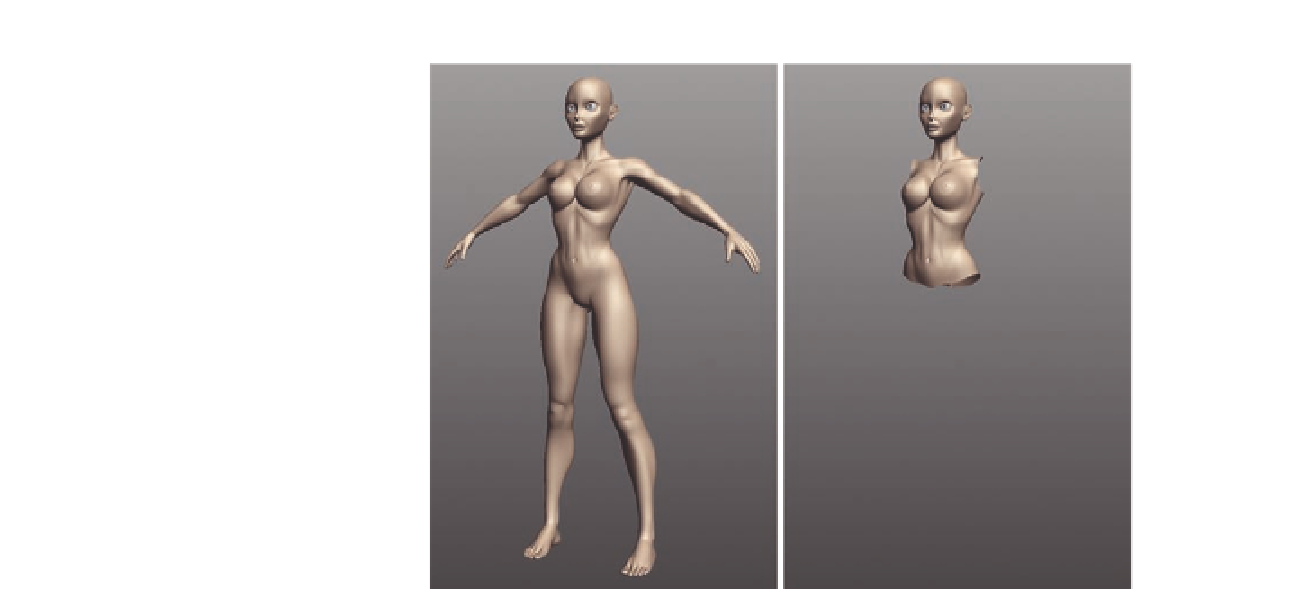
FIG. 9.10
Delete the unseen parts of her body.
All the preparation work is now complete and we are ready to start working in
the cloth details.
(You can i nd the Silo scene created in this section in
Chapter09/Files/09_
ClothingPreSculpt.sib
.)
Sculpting Details
As explained in Chapter 3, digital sculpting is exactly what the name suggests. You
push, pull, pinch, and tweak your model as if it were a lump of clay. This is what we
will be doing in the following sections to add creases and folds to our clothing.
(Tip: Remember that even at a higher subdivision level you can still tweak the
lower resolution cage to edit the overall shape of the model.)
As a reminder, Figure 9.11 shows you the main
Brush Editor
, which we will be
using in this section.
(Note: To access the Brush Editor, go to
Editors/Options
Brush Editor
.)
Before we begin, it is important to add that we will not be covering each
brush stroke in detail, as this would be tedious to follow. Besides, sculpting
is meant to be fun and organic, so it is better to give you a rough guide, and
encourage you to follow your own artistic path.
Figure 9.12 shows the basic process we will be following for adding the cloth
detail.