Graphics Programs Reference
In-Depth Information
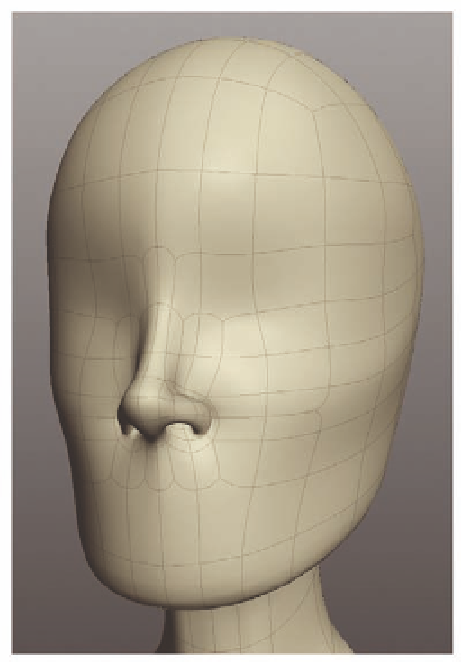
FIG. 8.12
The current nose model.
animate. As the lips move, the surrounding area deforms according to the
underlying muscle structure, and it is this structure we need to try to follow
with our edge loops.
●
To start, we are going to create a
Cut
running from the corner of the nose,
down to the mouth area (Figure 8.13b). This will be used to dei ne the
“Smile Lines,” or “Nasolabial Folds.”
●
Once cut,
Merge
the edge of the lower triangle, leaving us with one
remaining.
●
Create a second
Cut
, this time running down the outside of the existing
one ( Figure 8.13c ).
●
Finally,
Delete
the edge between the two triangles.
Now we can move on to the mouth area. As you can see from Figure 8.14, this
is currently a blank canvas waiting to be worked on.
●
Start by dividing the mouth area; you should aim for something similar to
that shown in Figure 8.14b. Follow on the existing cuts we created for the
nose down to the chin.
●
Next, create a horizontal
Cut
dei ning where the actual mouth will be
( Figure 8.14c ).