Graphics Programs Reference
In-Depth Information
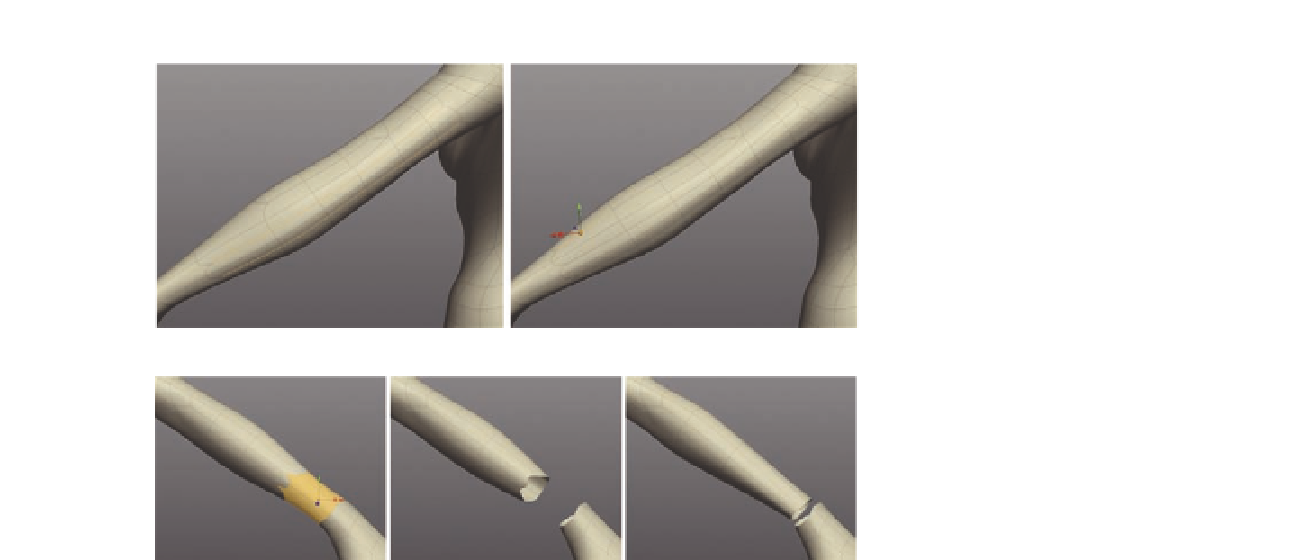
FIG. 7.52
Divide the back of the arm
now to prepare it for the elbow.
FIG. 7.53
Detach the hand so we can
add in a slight forearm twist.
FIG. 7.54
The Current Arm Model.
●
Now pull the remaining edges of the arm down toward the hand, and
rotate them forward, giving us the forearm twist (Figure 7.53c).
Take a breather now and look at the arm as a whole; be sure to reshape and
tweak any areas you feel you need to.
Moving on, we could use some more geometry on the forearm, to smooth out
the overall shape and allow us detail in the elbow.
●
To do this we will create two
Bevels
, the i rst around the middle of the
arm, (Figure 7.55) and the second lower down the arm (Figure 7.56).
Finally, we are going to add in the actual elbow. You can follow these steps in
Figure 7.57 .
●
To do this, i rst
Extrude
the four quads in the elbow area.
●
Apply a
Smooth
, to soften the area.
●
Finally,
Delete
the lower edges highlighted in Figure 7.57d.


