Graphics Programs Reference
In-Depth Information
FIG. 7.33
Create a similar cut on the inside of the foot.
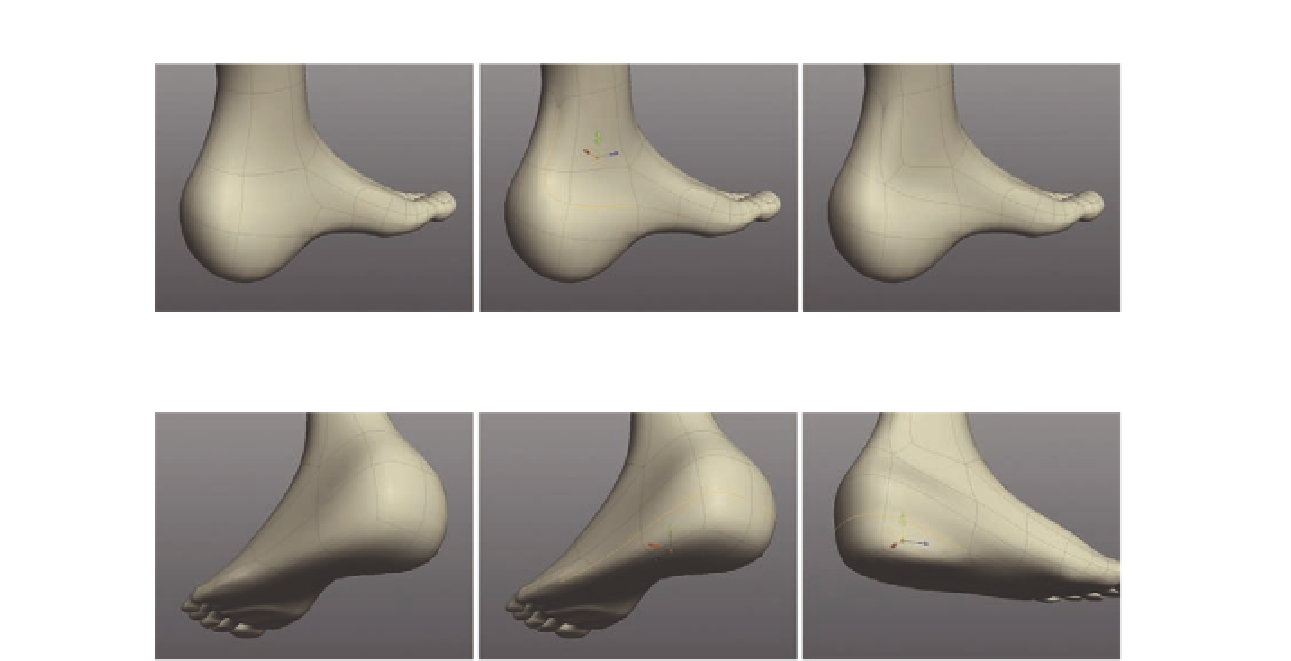
FIG. 7.34
Create a new edge loop around the base of the foot.
We now have a nasty pole on the arch of the foot. You could probably adjust
the shape to reduce the pinching, but while we are here let's remove it
completely.
●
Following Figure 7.35 , i rst create a
Cut
across the n-gon behind the
big toe. Continue this back as shown, joining it with the edge loop on
the heel.
●
Next, create a second
Cut
, this time running up the foot from the new
triangle ( Figure 7.35 c).
●
This gives us three triangles to remove. Simply
Merge
the upper triangle's
outer edge, and delete the edge between the lower triangles (Figure
7.35 d).
●
Now the topology is much better, so alter the general shape to smooth
out the area.
Let's focus on the ankle now to add in an extra edge loop around the base of
the leg.
●
Select the edges shown in Figure 7.36 a and
Bevel
them ( Figure 7 36 b).
●
Merge
the lower edges of the new triangles to clean up the bevel
( Figure 7.36 c).
Now we can add in the actual ankle detail. This is quite easy, as you can see in
Figures 7.37 and 7.38 .