Graphics Programs Reference
In-Depth Information
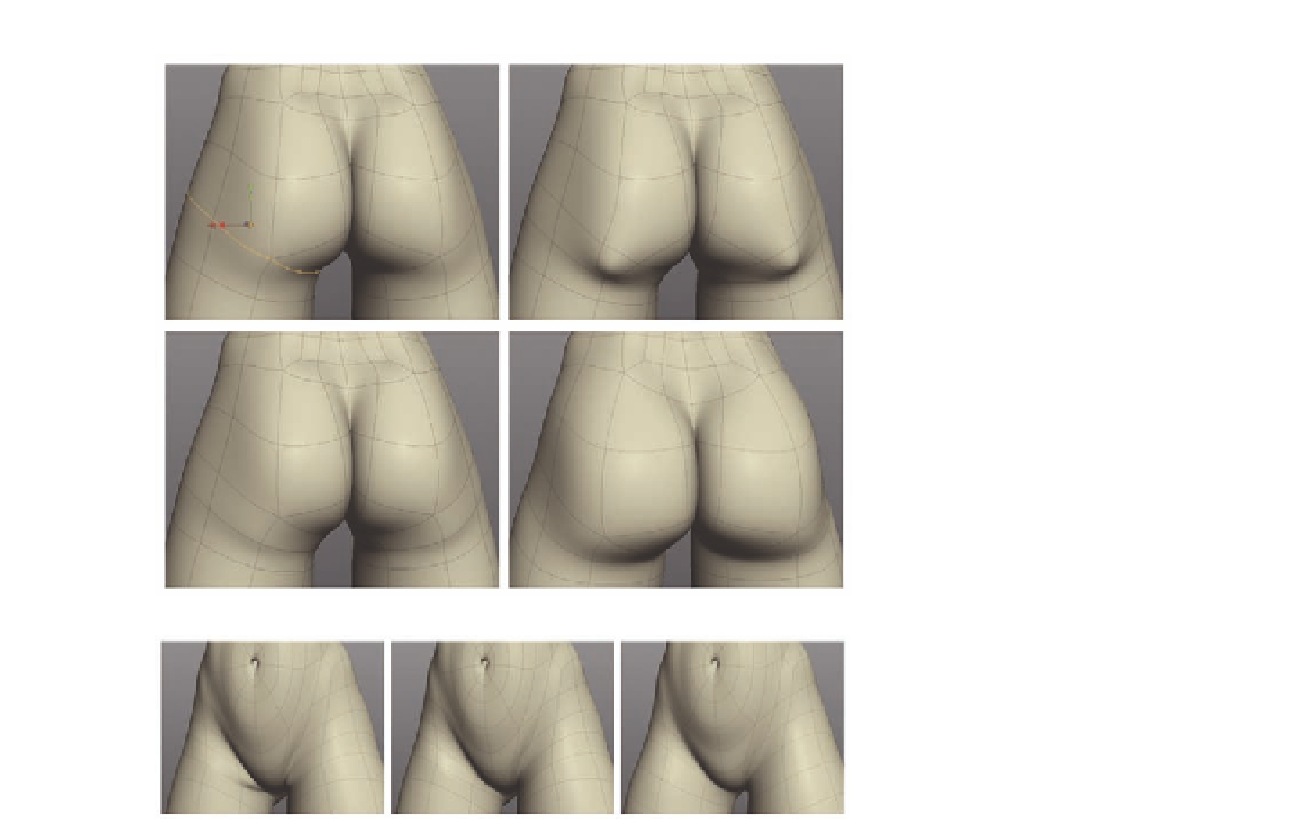
FIG. 6.55
Add another bevel around
the upper thigh.
FIG. 6.56
R e m ove the triangles close
to the crotch.
●
When i nished, be sure to remove the new triangles from the base of each
buttock by merging the upper edges (Figure 6.55b).
●
Also, move around to the front of the model and remove the triangles
near the crotch; again do this by merging the upper edges of the triangles
( Figure 6.56 ).
If we take a step back now and look at the waist from a few dif erent angles,
we see that her buttocks are a little square. This is because the model's
topology on each cheek is a little sparse.
●
Select the edges seen in Figure 6.57a. Start under the model and work
your way up, selecting the horizontal edges moving toward the dimples
we added earlier.
●
Cut
these and, as shown in Figure 6.57b, create another cut connecting
the two opposing vertices.
●
This now leaves us with two triangles. Select the horizontal edge loop
connected to each triangle, moving around the front of the model, too
( Figure 6.57 c).