Graphics Programs Reference
In-Depth Information
●
Moving on, go under the arm so you can see the armpit, which is quite
messy with n-gons and pinching geometry all over the area.
●
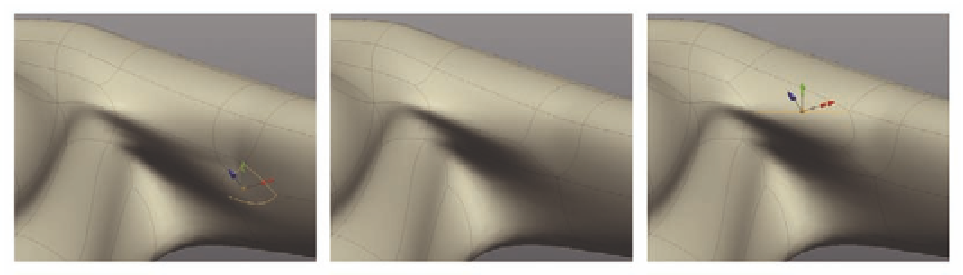
First, select the three edges seen in Figure 6.22a and
Merge
them. This will
clean that section, and reroute the l ow of polygons back toward the torso
Figure (6.22 b).
●
Next, create a
Cut
across the n-gon just above the armpit (Figure 6.22c).
●
Create two more cuts, this time across the polygon above the cut you just
made, and dividing the quad to the right (Figure 6.23b).
●
Merge
the edge for the second cut you made, collapsing this triangle.
●
Finally, delete the edge below your last cut. This should give you back a
quad, and leave your model like that in Figure 6 23c, with just one more
triangle to deal with.
Just a few more steps before we can leave her shoulder.
●
Move to the back of the shoulder. As seen in Figure 6.24a, we have a nasty
pinch, which was left over from an earlier Bevel operation.
●
Select the edges opposite, following the l ow of the original bevel, turning
the selection back toward the torso (Figure 6.24a).
●
Apply another
Bevel
to the selection (Figure 6.24b).
●
Finally,
delete
the edge dividing the two bevels, and
Merge
the outer
edge of the triangle toward the end of the new bevel. This should give you
a cleaner shoulder (Figure 6.24c).
●
Switch back to the front of the shoulder now, to our remaining triangle
( Figure 6.25 ).
FIG. 6.22
Clean up the topology around her armpit.
FIG. 6.23
C ontinue to rework the topology around the shoulder.