Graphics Programs Reference
In-Depth Information
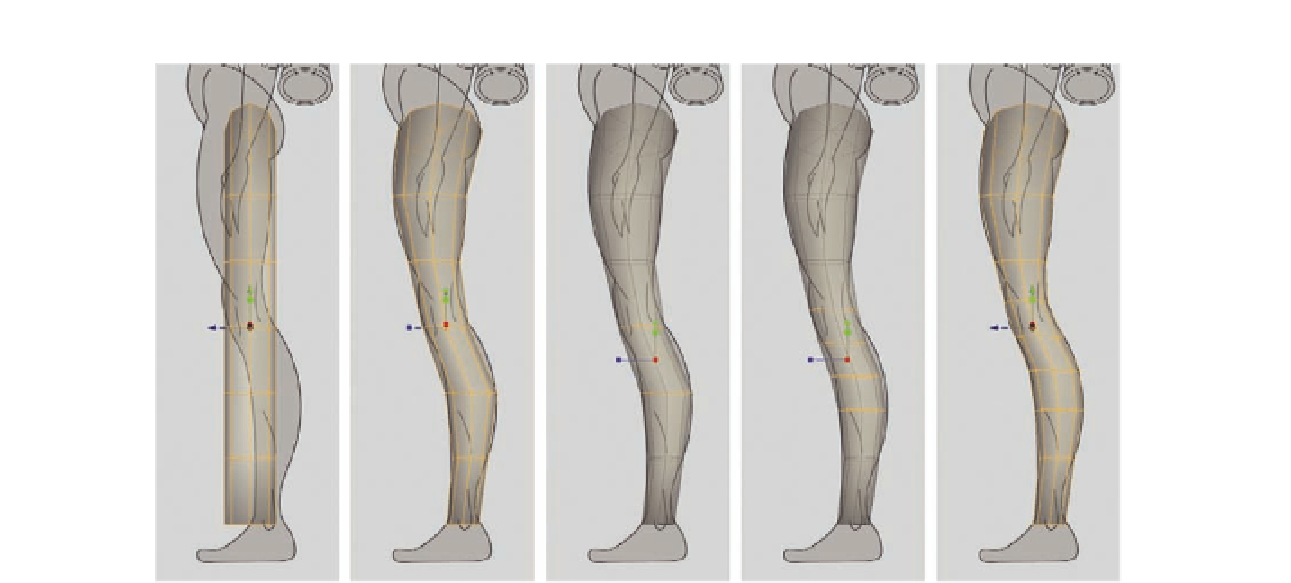
FIG. 5.72
In the side view, adjust the leg to fi t the concept.
(Figure 5.72d). Using a Bevel will also average out the shape, as
opposed to two direct cuts.
●
Finally, adjust the new edge loops to reshape the lower leg.
The main leg is complete, so now we need to attach it to the torso, making
sure we keep the correct topology around the waist area while sticking to a
quad-based model.
●
First, we need to remove the cap from the top of the leg cylinder. Select
the faces shown in Figure 5.73 and delete them to open up the leg.
●
Next, unhide the torso and arms by pressing
Shift
H
.
●
Select both the torso and the leg, right click, and select
Combine Objects
from the context menu.
Now that the models are a single mesh, we can work our way around the hip,
merging the vertices to connect the leg. We do this all the way around the leg,
but keep the crotch area free, as this will need building in later.
●
Following Figure 5.74, merge the outside vertices of the torso to the ones
closest on the leg. We are merging to the leg so the torso vertices move to
the correct hip position.
(Note: Don't worry if you end up with a spike as we have in Figure 5.74; this
will go away when we are done.)
●
Next, work your way around the front of the thigh merging each vertex in
turn, stopping as you reach the crotch (Figure 5.74c).