Graphics Programs Reference
In-Depth Information
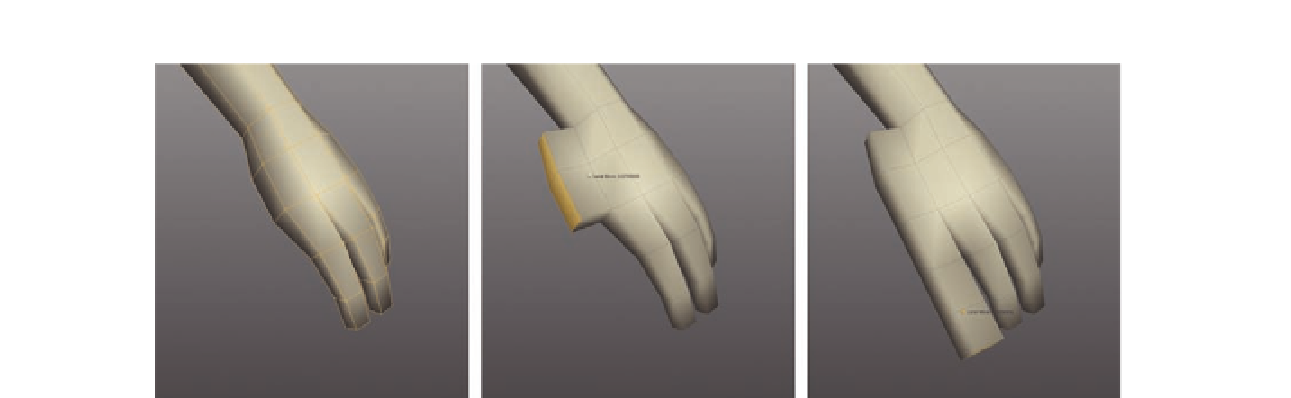
FIG. 5.65
Extrude more geometry to create the index fi nger.
●
Next, shape the i ngers into a more natural pose, as in Figure 5.64d.
The hand now has three basic i ngers, which for now is perfect. She does,
however, need her index i nger and a thumb. We can add these by extruding
more geometry and pulling it out of the existing hand.
●
Select the two faces on the side of the hand, just below the ring i nger,
and
Extrude
them ( Figure 5.65b ).
●
Next, select the face at the front of these and add three more extrusions to
create the index i nger ( Figure 5.65c ).
In Figure 5.66, you will see that we need to adjust the model slightly at the
base of the thumb, before we create it. This can be done later if needed when
we reshape the whole hand.
●
Rework the main polygons at the back of the new index i nger, making the
area we will extrude for the thumb larger (Figure 5.66b).
●
Create two more extrusions out to the side as shown in Figure 5.66c,
moving these down slightly to form the thumb.
The main geometry for the hand is in place, so all it needs now is some TLC.
Using the
Tweak tool
, rework the vertices until the model looks more like that
in Figure 5.67. Try to achieve a relaxed feel to the hand, and refer to your own
hand, or some other reference, to make sure the i ngers are the correct length
and orientation.
The left arm is now complete so let's apply the same procedure we performed
on the torso and mirror the geometry to create the right arm.
●
Following Figure 5.68 , i rst delete the model's right side.
●
What you might i nd is that the whole torso is removed; this is because
symmetry might still be enabled from the last mirror operation we
performed. To disable it, simply select the model, press Alt N, and try
deleting the geometry
.