Graphics Reference
In-Depth Information
1.
On the ribbon,
Home > Feature > Extrude
; the
Extrude
dialog appears.
2.
Click on the sketch.
3.
Type-in 10 in the
End
box attached to the preview.
4.
To see how the model would look if you have extruded the sketch in the op-
posite direction, click
Reverse Direction
button in the
Direction
section.
Again, click on it to extrude the sketch in the front direction.
5.
Ensure that
Body Type
in
Settings
group is set to
Solid
.
6. Click
OK
to construct the extrusion.
Notice the new feature,
Extrude
, in the
Part Navigator
.
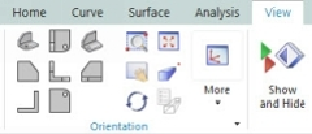
To magnify a model or change its orientation in the graphics area, you can use the
Orient-
ation
tools on the
View
tab.