Graphics Reference
In-Depth Information
15.
Select the Part_3 and click the
Disassemble
icon on the ribbon.
16.
Likewise, disassemble the other instance of Part_3, Part_2, and Parte_1.
17.
On the ribbon, click the
Record Camera Position
icon.
18.
In the Sequence Navigator, select the
Pins
event and change the
Total Duration
value in the
Details
section to 2.
19.
Likewise, change the
Total Duration
values of other events to 2.
20.
On the
Playback
group of ribbon, change the
Playback Speed
to
10
.
21.
On the
Playback
group, click the
Export to Movie
icon.
22.
Type
Hu Puller assembly
in the
File name
box and
OK
. The movie of the as-
sembly sequence is recorded.
23.
Click
OK
on the
Export to Movie
message.
24.
Click
Finish
.
25.
Open and play the video.
26.
Close all the parts.
TUTORIAL 3
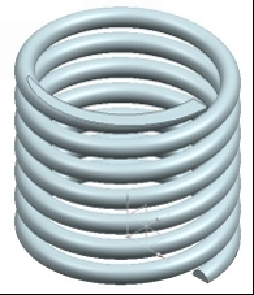
In this tutorial, you create a deformable part and add it to an assembly.
Creating the Deformable Part
1.
Download the Tutorial 3 files of Chapter 9.
2.
Open the Deformable_part.prt file.
3.
On the Top Border Bar, click
Menu > Tools > Define Deformable Part
.
4.
Leave the default
Name
value and click
Next
.
5.
Select all features from the
Features in Part
list and click
Add Feature
.
6.
Click
Next
.


