Graphics Programs Reference
In-Depth Information
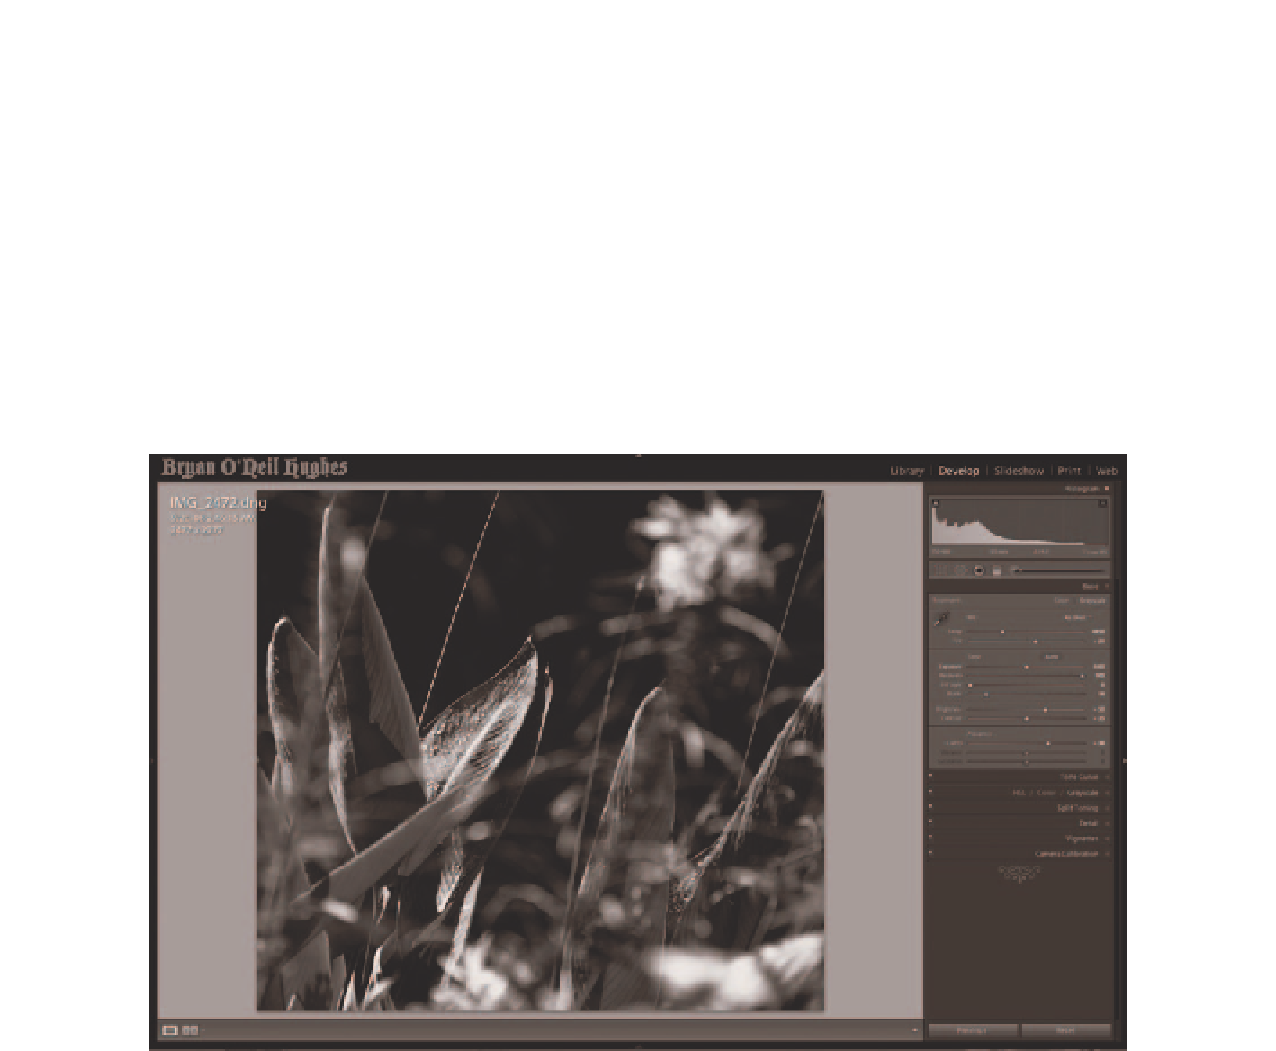
4.
Next, move the Fill Light slider to the right - this will “dodge” the shadows.
Continue adjusting until you have your desired ef ect. If the image
does not have enough contrast, do not worry, we will get there.
5.
We will now carefully move the Black slider to add true blacks back to the
image; move the slider until the blue overlay is just barely visible (too much
blue indicates clipped shadow regions).
If you would like yet more contrast, the appropriately marked Contrast and
Brightness sliders of er a good way to massage the details - remember to
be mindful of the red and blue overlays.
Step 4: Tone Curve
Everyone has heard of curves: the feature that is as intimidating as the cockpit
of a jumbo jet, and promises to be just as powerful. Any Photoshop power
user will tell you that magic is in Curves; this gets troubling when you try to
put the gospel into practice. Something about trying to wrangle an s-shaped
line to deliver a good exposure just does not seem intuitive.
Luckily, there is not a curves control more powerful or more intuitive than
the one found in Lightroom. Let us look at the parts of the Parametric Curves
control in Lightroom.
Search WWH ::

Custom Search