Graphics Programs Reference
In-Depth Information
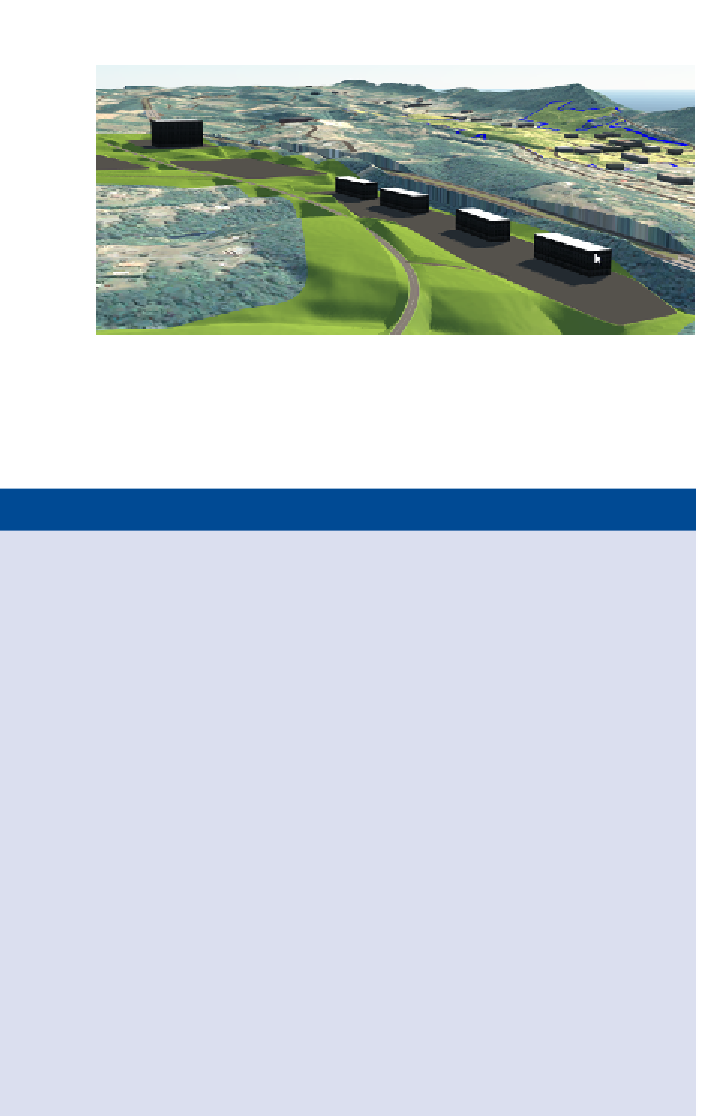
fIgure 3.43
Multiple copies of the building have been created and arranged.
You can view the results of successfully completing this exercise by choosing
the Ex_3_7_End proposal.
now You know
In this chapter, you first learned how to create proposals. InfraWorks is a great tool for concep-
tual design, and when you're in conceptual design mode, you will often want to try different
alternatives. You may also want to show someone design alternatives and be able to switch
between them, and as you learned in this chapter, proposals are a great tool for just that.
Next, you learned how to create three different design elements: roads, coverages, and
buildings. These three elements are created most commonly and in the most abundance in
InfraWorks. You learned how easy it is to place a road in the model by picking points along its
path. Nearly as easy is the process of modifying that road using gizmos and commands from
the shortcut menu.
You now know that coverages can be used to represent grass areas, parking lots, and even
town limits. Think about the next model of your own that you're going to build in InfraWorks.
What will coverages be used for in that model? You learned how coverages can be used to
perform grading design, either through the Shape Terrain command or by manipulating the
vertex gizmos.
The last design object you learned about is the building. You now know that a building is easily
created by simply picking points to define its outline and that its height and shape are easily
changed. You learned about all of the commands in the shortcut menu (the one that appears
when you're not in edit mode), many of which can be applied to all objects in InfraWorks.
Generally speaking, you have learned the most common tools used to build and modify your design
so that you can visualize it for yourself, share it with your design team, or share it with a client.
Search WWH ::

Custom Search