Graphics Programs Reference
In-Depth Information
data to produce significant issues within a resulting profile. Let's see how
this affects a real image.
1.
Open
Printer_Test-File.tif
.
2.
Choose
Image-Mode-Convert to Profile
in Photoshop CS or
Edit-Convert to Profile
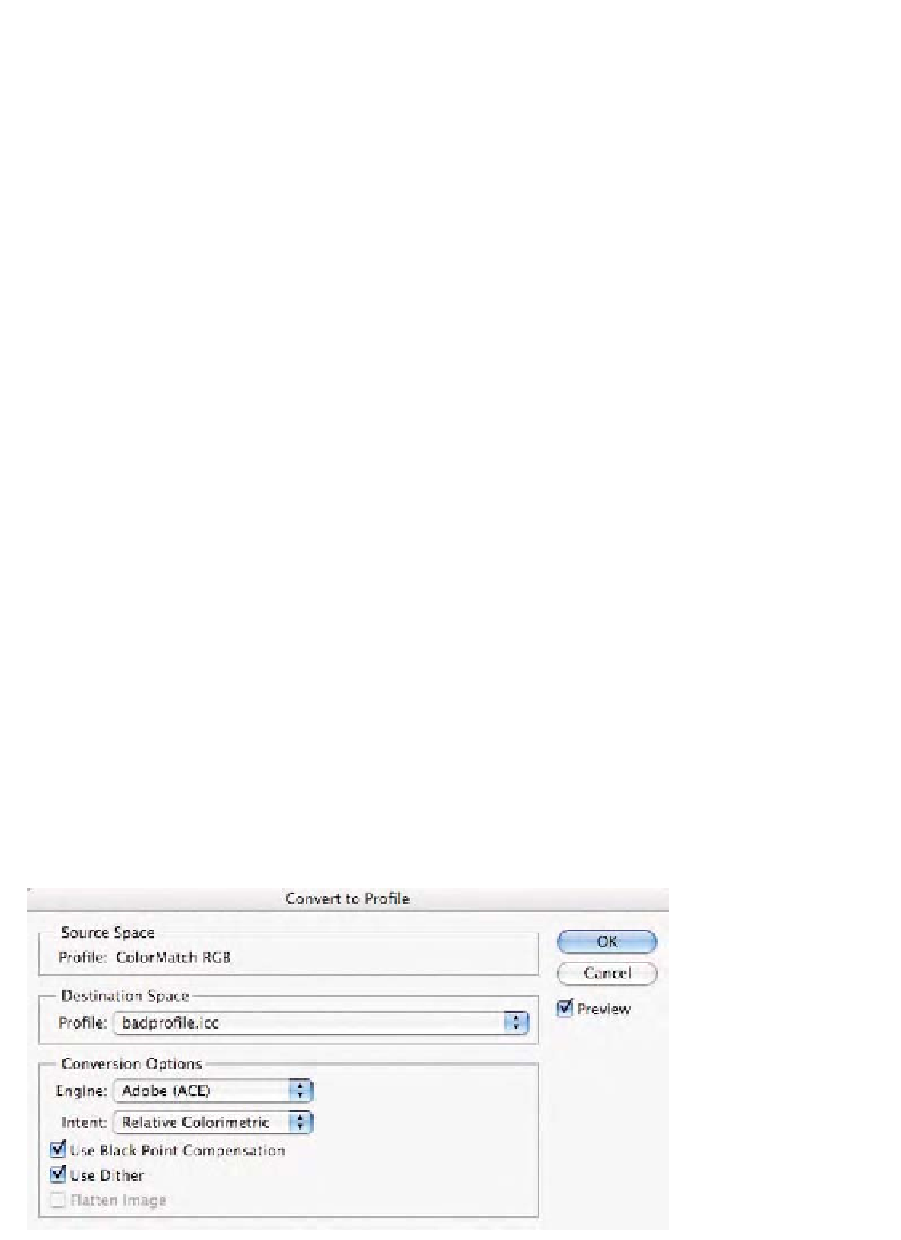
in CS2 as seen in Fig. 9-13-2.
From the
Profile
pop-up menu, select
badprofile.icc
.
From the
Engine
pop-up menu, select
Adobe ACE
.
From the
Intent
pop-up menu, select
Relative Colorimetric
.
Have
Use Black Point Compensation
and
Use Dither
check
boxes on.
Be sure the
Preview
check box is on.
3.
Toggle between the
R800Gloss918.icc
and the
badprofile.icc
and the effect doesn't seem to be quite as dramatic as when we
viewed the
badprofile.icc
on the Granger Rainbow. However,
look closely at the image of the dog by the computer as you
toggle between the two profiles. You can zoom into this area
while the
Convert to Profile
dialog is still active by holding
down the
Space Bar
and either the
Command/Control
key to
zoom in or the
Option/Alt
key to zoom out. Hold down just
the
Space Bar
to toggle to the hand tool to move about the
image.
Look at what is happening to the gray background when the
badpro-
file.icc
is selected versus the
R800Gloss918.icc
profile! In addition,
notice the effect of selecting different rendering intents on this image.
When finished viewing these options, click
Cancel
to dismiss the
Convert to Profile
command. Feel free to try these tests on your own
images using your own printer profiles.
Fig. 9-13-2
The
Convert
to Profile
command
showing the
badprofile.icc
profile
selected in the
Destination Space
pop-
up menu.