Graphics Programs Reference
In-Depth Information
you move the cursor over each gradient, its name will be seen in
the tool tips. Click the title bar of the document you made or the
option bar to dismiss the gradient palette.
4.
In the option bar, ensure the gradient type is set to
Linear
Gradient
(the first icon in the group). Ensure the
Mode
pop-up
menu is set to
Normal
and
Opacity
is set to
100%
as seen in
Fig. 9-12-4.
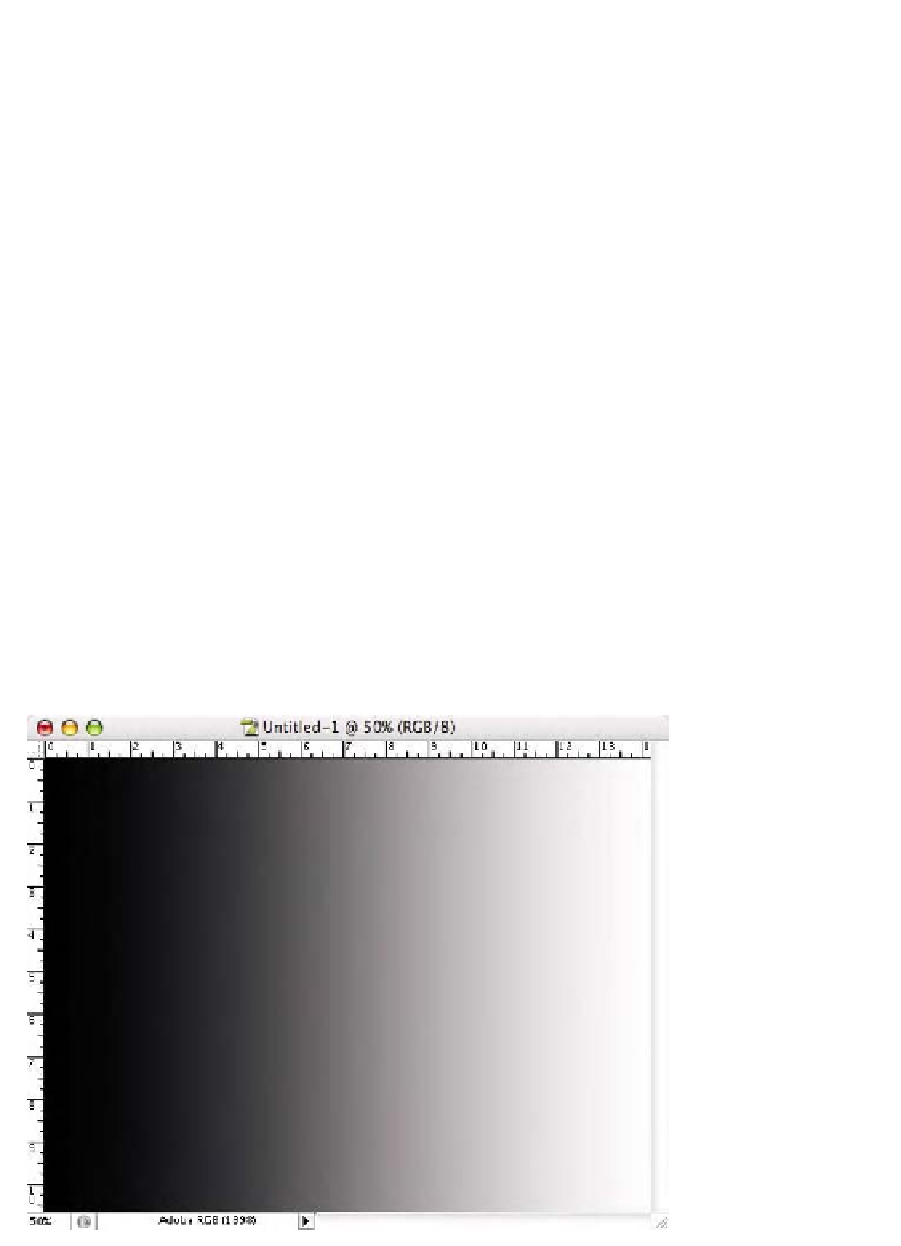
5.
Hold down the
Shift
key and click and drag from the far left to
the far right of the document (horizontally) to produce the
black-to-white gradient as seen in Fig. 9-12-5.
6.
Choose
Image-Adjust-Posterize
. When the dialog box appears,
enter
21
in the
Levels
field as seen in Fig. 9-12-6 and click
OK
.
You have created a 21-step wedge with equal squares of tone
running from black to white. Save the document if you wish.
I often reverse the direction of the step wedge and place a
version underneath running in the opposite direction, which
makes it easier to see how the tones separate in print. To do this,
Fig. 9-12-4
Click the
Linear Gradient
icon as
seen here.
Fig. 9-12-5
The black-to-
white gradient should look
like this.