Graphics Programs Reference
In-Depth Information
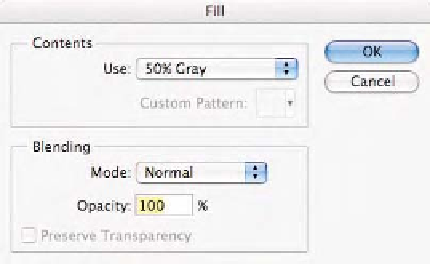
3.
Choose
Edit
-
Fill
menu when the
Fill
dialog appears as seen in
Fig. 9-6-7. Choose the
Use
: pop-up menu and select
50% Gray
,
Blending Mode
:
Normal
,
Opacity 100%
, then click
OK
. The
image is filled with gray.
4.
Go back into the Photoshop Color Settings dialog and change the
Gray
pop-up menu in the working space area of the dialog from
Gray Gamma 2.2
(the default) to
Gray Gamma 1.8
(or to
other dot gain settings). Notice that the Grayscale document you
just made changes its appearance, which is logical as this file is
an untagged document. Go back into the
Color Settings
dialog
if you dismissed it earlier and toggle the settings from
Color
Management Off
back to
U.S. Prepress
and click
OK
.
5.
Select
Image-Mode
-
Assign Profile
in Photoshop CS or
Edit-
Assign Profile
in CS2. The dialog shown in Fig. 9-6-8 will
appear. Make sure the
Preview
check box is on. If you wish to
assign the currently specified Grayscale working space, which is
dot gain 20%, do so by selecting the middle radio button.
However, for this exercise, click the third radio button and notice
that as you toggle different options in the
Profile
: pop-up menu,
two changes occur.
First, the preview changes because you are informing
Photoshop exactly what profile description to use for the
preview, and eventually for conversions, of this document.
Fig. 9-6-7
The
Fill
command should be
configured as seen here.
Fig. 9-6-8
Select the
Assign Profile
command,
select the
Profile
radio
button and toggle different
Grayscale profiles in the
pop-up menu while
watching the color
appearance and Profile
indicator in the document.