Graphics Programs Reference
In-Depth Information
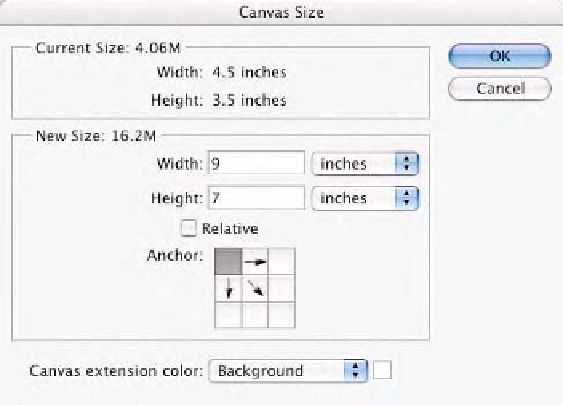
Fig. 9-4-4
The
Canvas
Size
dialog is set so the
other three images can fit
into the original document.
The original image is
4.5
¥
3.5 inches. We need
a 9
¥
7 total canvas to fit
the additional images.
Optionally you could set
the Width and Height in
the
Canvas Size
dialog to
percent and enter 200%
for both dimensions.
document active, hold down the
Command/Control
key to
make the Photoshop
Move
tool active, or hold down the
V
key
to select the
Move
tool, then drag and drop it over the sRGB
labeled document. With the
Move
tool still active, position the
newly pasted layer next to the sRGB image. Do the same for
the other two documents so that you end up with a single
document with all four images on one page as seen in Fig. 9-4-
5. The order isn't particularly important although you might
want to have the images placed in order of gamut (sRGB, then
Adobe RGB, then ProPhoto RGB, and the original). Select
Flatten Image
from the
Layers Palette
flyout menu or use
the
Command (Control)/Shift E
key command.
12.
The document has been converted to the print space so now
you need to output this to your printer. Select the
Print with
Preview
command (
File-Print with Preview
). Make sure the
Show More Options
check box is on and the pop-up menu
just below it is selected to
Color Management
as seen in Fig.
9-4-6. The source space specified here should be the name of
the printer profile you picked for color space conversion in step
7. The Print Space should be set to
Same As Source
in
Photoshop CS, or
No Color Management
in Photoshop CS2
so that the color managed data is sent directly to the print
driver. For more information about using
Print with Preview
,
see Chapter 2
13.
Set your printer driver to the same settings used to generate the
printer profile. Output the document and examine.