Graphics Reference
In-Depth Information
Fig. 12.16
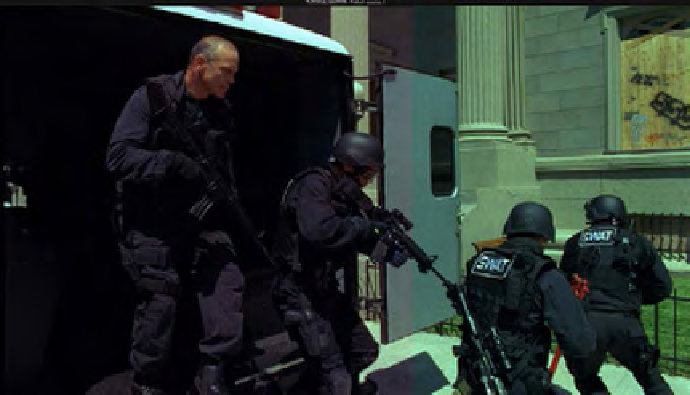
The split is at the middle of the door. The green cast to the right is the “before.” The warmer
tones to the left is the “after.”
The image may seem a little warm. You can dial back some of the
warmth with the entire image visible. On the gamma color wheel, just
pull straight down toward the center position until you feel balanced
(
Figure 12.16
).
Secondary Correction
Let's add three secondaries or nodes to this image. The first one will be a
vignette to just darken and blur the edges. The second will be a window
that will help highlight the one SWAT face that we can see. We'll pretend
he's the hero of this shot, so we'll help call a little more attention to his
face. The final one will be an HSL qualification to punch up the grass.
I don't think this shot really needs that treatment, but we'll do it as an
exercise.
First, the vignette:
“on” button next to the Circular choice (top choice) and click
the second box next to it to grade outside the window instead of
inside. This selection will put three colored circles in the viewer
window. The middle green circle is the center of the softness.
The outer yellow circle is the outside softness. The inner yellow
circle is the inner softness. You can either use the sliders in the
Window tab or click and drag on various handles of the circles to
change the size, shape and softness of the circle (
Figure 12.18
).
Search WWH ::

Custom Search