Graphics Reference
In-Depth Information
gradually tapering down to the dark shadow at the bottom of the picture,
behind the boxer. Notice that at about 20IRE on the waveform monitor
about two-thirds of the way across there is a circular gap in this smoke
band? That's where the boxer is blocking the haze.
Notice that the placement of picture elements in the vertical axis has
no bearing on the waveform. In other words, there is no indication on
the waveform whether a bright spot is at the top of the picture or at the
bottom of the picture.
Looking at the black levels of this picture, you can see that they are
already set about as low as they can go without crushing the detail out of
the darker portions of the picture. This is no surprise, really, as this is stock
footage from Artbeats that was shot on film and already benefited from a
colorist's touch as it was transferred from film to tape.
Setting the Black Level
Let's look at an image that needs to have the black level adjusted. The
most obvious candidate would be a picture that looks a little washed out.
We're going to analyze the image in a number of ways and then look at
several tools in various applications to correct the problem.
Please import the file “Brian interview overexposed” (
Figure 1.21
)
from the DVD. It is a CCIR601 file size (NTSC, standard-definition video)
and color space with interlaced fields, lower field first. You can use the
color correction software that is most comfortable to you. I apologize to
those of you in PAL or SECAM land. You will have to transcode the tuto-
rial footage from these NTSC QuickTime files to something usable by your
equipment.
The very first way that most colorists analyze an image is to view it
on a broadcast monitor, which used to mean a CRT (cathode ray tube)
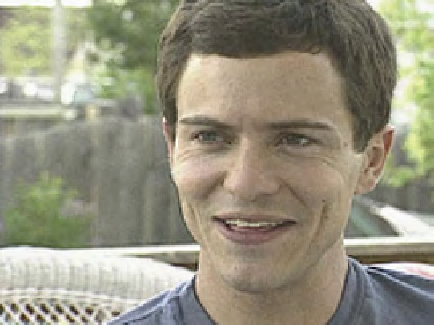
Fig. 1.21
An interview
shot with available light
on BetaSP back in 1996.
I was the shooter and my
brother Brian is the subject.
This footage is available
on the DVD as the file
labeled “Brian interview
overexposed.”
Search WWH ::

Custom Search