Graphics Reference
In-Depth Information
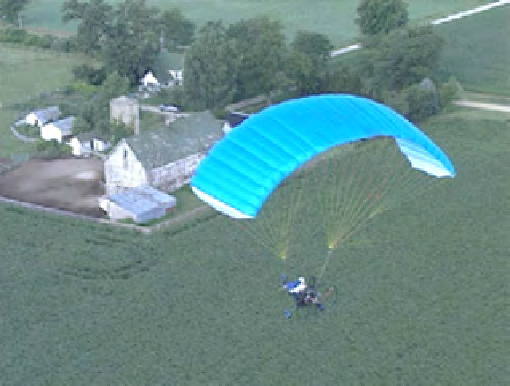
that we've selected as much of the saturated canopy as we can get. But
on other images, you will need to focus this adjustment to get the best
selection possible. High soft and Low soft sliders control the fall-off of
the selection.
Finally, next to the Luminance bar—the black to white bar at the
bottom—manipulate the Low, High, Low Soft, and High Soft sliders to
maximize your selection. With this image, the hue and saturation of the
canopy is so distinct that after some experimentation, you'll see that you
can actually deselect the “on” button on the Luminance bar entirely. It
really has no effect. Trying the same thing on the Saturation bar, how-
ever, will instantly show that quite a bit of the background pixels have
been deselected based on saturation.
The sliders at the bottom of the HSL tab are for the Qualifier blur. The
sliders are for the blur amount (radius) and the horizontal and vertical
ratio of the blur. There is also a slider to shrink or grow the qualification
and another offset control. You can see the effect that these sliders have
on your qualification if you make and extreme change to the qualified
area, like cranking up the luminance level.
With your qualification complete, deselect the Highlight checkbox to
see your image in full color in the viewer. Now we can manipulate the
just the color of the canopy without affecting the rest of the image.
To make the canopy stand out, use the Color Wheels in the three-way
color corrector tab to swing the gamma towards blue (
Figure 5.26
). Also,
lower the gamma a bit. You can also try corrections in the shadows and
highlights. Because of the tonal range of the pixels in the canopy, shadow
Fig. 5.26
The CMYK reproduction of the correction is not great. Obviously, you need to just tweak the
colors enough to make them pop without having them look unrealistic.
Search WWH ::

Custom Search