Graphics Reference
In-Depth Information
As pointed out earlier, the first step of making a secondary correc-
tion is to determine what you are trying to accomplish. For this tuto-
rial, our goal is to make the lion on the Art Institute steps be “the star
of the show”—we want the viewer to notice the lion as the focal point
of the shot.
The second step is to figure out how to make a qualification that will
enable you to accomplish that goal. Looking at the image, the lion is fairly
green-blue, and there doesn't appear to be too much else in the image
that is the same hue or saturation as the lion. Much of the rest of the
image contains similar luminance levels, so the obvious place to start is to
create a key using the hue information.
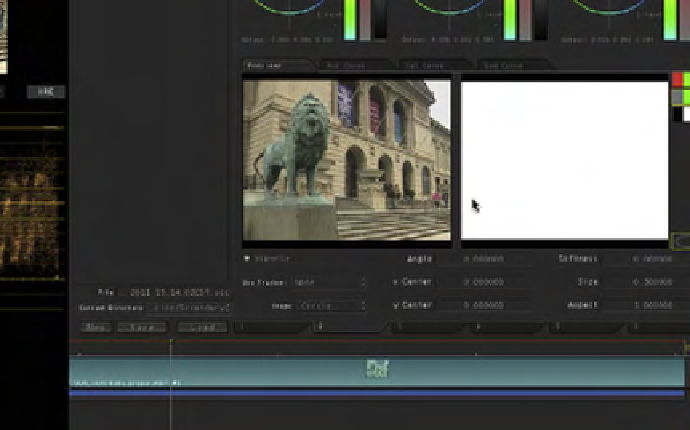
To view the matte that you create with your qualification, make sure
that the Previews tab under the shadow hue offset wheel is active. In the
Previews tab, the left window shows you the clip and allows you to see
and manipulate any vignettes or garbage mattes you've created. The right
window shows you the matte of any isolations you've made by color
vector selections or luminance selections. To the right of that window,
there are three small icons called the Matte Preview Mode buttons (
Fig-
image normally in RGB, which is essentially the same image that is in the
Scopes window. The middle one has gray, green, and gray rectangles. This
is called the Desaturated Preview. It is a view of your qualified areas in full
color and your unqualified areas in black and white (monochrome). The
bottom icon has black, white, and black rectangles. This is the Matte Only
Fig. 5.10
To see the matte created in Color Secondaries Room, select the Previews tab.
Search WWH ::

Custom Search