Graphics Reference
In-Depth Information
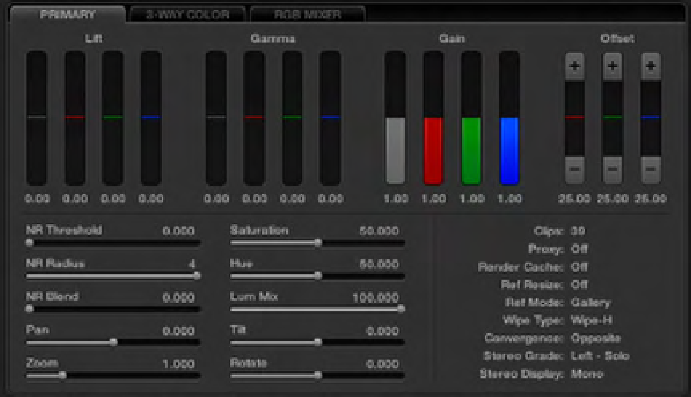
Fig. 3.10
DaVinci Resolve's Primary tab
Looking at the RGB Parade waveform monitor, the color channels
almost seem to stair-step, with the red low, the green in the middle, and
the blue levels quite elevated (
Figure 3.6
). We are going to treat this just
like the chip chart and see how close that gets us to the correct color.
The first thing that probably needs work is the “lift” of the blue chan-
nel. Bring the level down so that the bottom of the blue cell touches
the 0IRE line. You can “focus” it up and down a little to make sure you
haven't clipped or crushed it. When you start to work with the green
lift, you'll notice that Resolve's behavior is a bit different than Color's.
The other two color channels move when you get the green channel's
lift low enough. Don't worry so much about the specific level of the
green channel's lift; just try to get the levels the same for red, green,
and blue (
Figure 3.13
)
. Once they're all balanced, you can use the tonal
lift control—the gray slider to the left of the RGB sliders—to bring the
overall levels of the lift down (
Figure 3.11
).
On the image of the Art Institute, the lowest black point in the center
(
Figure 3.12
)
probably represents one of the blackish areas inside one of
the arched doorways at the top of the stairs or the black area in the arches
above them (
Figure 3.9
).
Now we'll make the same kinds of changes to the highlights of each
channel.
This time, I'll start with the red channel gain and bring it up until
the part of the image that sits around 60IRE is up closer to 80, which is
where the green channel is. On many images, you'll want to match all of
the channels so that the
basic
top of them is at 100IRE. In the case of this
Search WWH ::

Custom Search