Game Development Reference
In-Depth Information
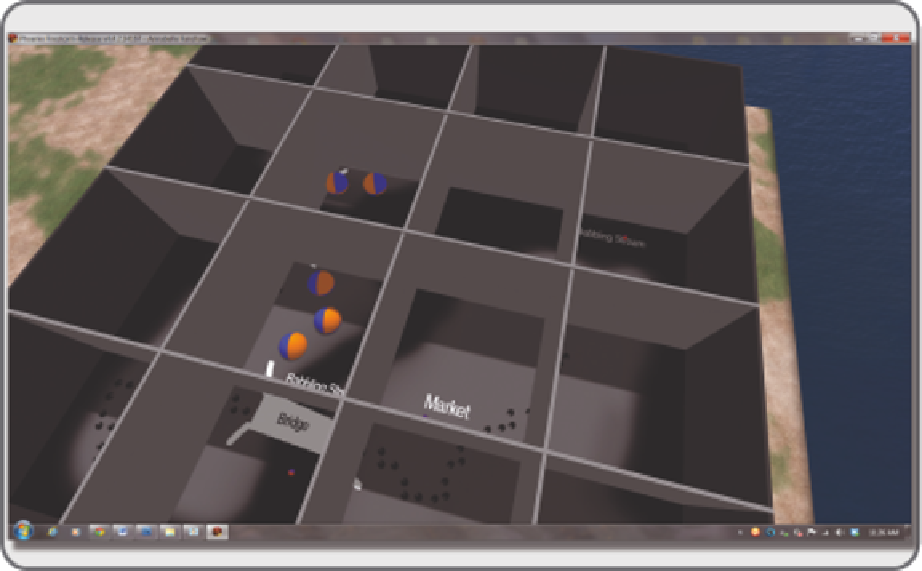
FIGURE 11.8
Screen grab showing how the interior of the game is set up with bafles to limit visibility across the
game board.
11.8.7 p
lay
T
esTing
and
s
ome
T
hings
y
ou
C
an
e
xpeCT
Finally you are ready for play testing; here are some things to remember:
1. Let the players go through the instructions and game play without any intervention.
2. Take notes and meet for a group chat afterward.
3. Tweak your audio landscape to make play harder or easier as the case may be. You might ind that
more visual barriers are needed or more sounds. Play testers tend to break your games, and that is what
you should expect them to do. You may have to ask them to set their sound “roll off” to the minimum
(under Avatar/Preferences/Sound & Media/General) so they can separate the sounds more easily, or
perhaps you may need to turn down the volumes or set the sound emitters into more distant locations.
4. After ive or six rounds of play testing, you should be ready to go public and open the game up for all.
As you observe how people play this game, make notes on human behavior and how it is affected by your
design. Look for new ways to use audio in all of your builds. If you do see emergent game play, make notes
on how it happens and what inspires it so you can utilize those qualities in your future designs.
11.9 FINAL THOUGHTS ABOUT SOUND DESIGN
Hopefully, you have been inspired to become a sound designer or at the very least a person interested in the
potential power of sound as an immersive element in a virtual world.