Graphics Programs Reference
In-Depth Information
Cleaning up your selection with Quick Mask
You now have an opportunity to practice your selection skills by using Quick Mask to quickly add the
hard-to-select sections that are dramatically out of the tolerance range.
1
Press
Q
to enter into the Quick Mask mode. The Quick Mask mode shows the selected area in your
image as clear, and your unselected (masked area) as a reddish orange color. If you are from the print-
ing or pre-press industry, you would recognize the similarity of this color to a traditional masking
product called amberlith or rubylith.
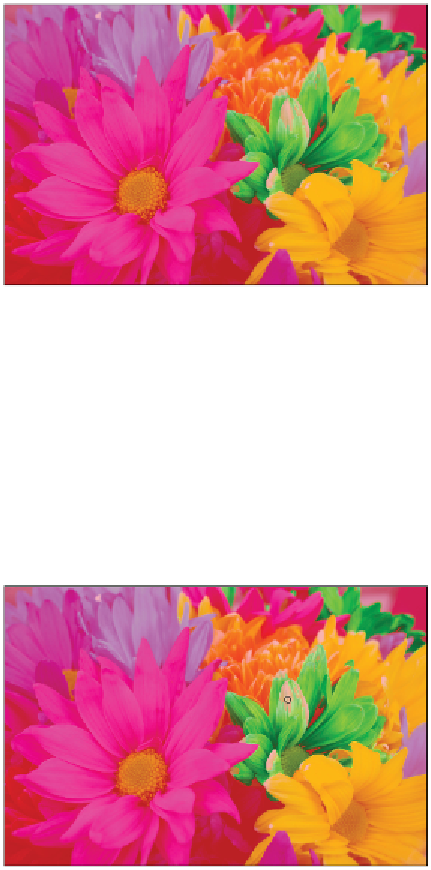
Quick Mask mode shows the masked area as orange.
2
Select the Brush tool and press
D
, which defaults your foreground and background back to the default
black and white setting.
3
For the next part, you want to make sure that White is the foreground color. If it is not, press
X
, which
is the keyboard shortcut to swap your foreground and background colors.
4
Select your Brush tool and position it over one of the areas in the flower that were masked, but are not
supposed to be. In the next step, you will paint these parts of the mask out with white, which is clear
in the Quick Mask mode.
5
If your brush size is too large to easily paint over the masked areas in the green flower, press Ctrl+[
(Left bracket) (Windows) or Command+[ (Left bracket) (Mac OS) as many times as necessary.
If necessary, make your brush size small enough to paint the masked areas in the green flower.