Graphics Programs Reference
In-Depth Information
Use the handles to transform your selection.
3
Press the Enter (Windows) or Return (Mac OS) key when you are finished transforming the selection.
You can also click the Commit ( ) button on the far right side of the control panel to confirm your
transformation.
Saving your selection
Before going any further, it is a good idea to save the selection that you created. By saving a selection,
you can easily return to the selection at a later time, or use it to add or delete from other selections.
1
Make sure that your selection is still active, and then choose Select > Save Selection.
2
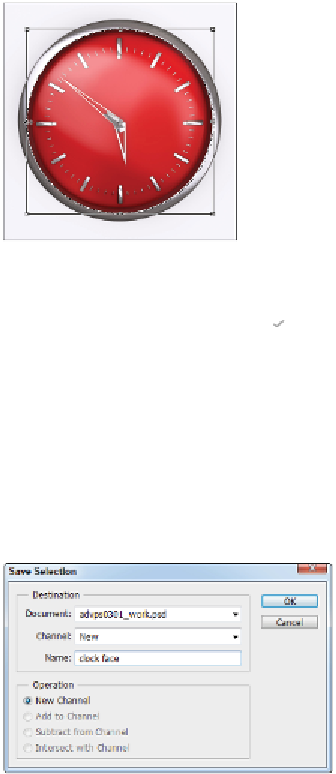
In the Save Selection dialog box, type
clock face
into the Name text box, and then click OK, leaving
the other settings as they are.
Save your selection for later use.
3
Keep the selection active for the next part of this lesson.
Transforming to create a second selection
You will now take the existing selection and use it to create a second selection.
1
Choose Select > Transform Selection; the Transform handles appear around your selection.
2
Press and hold the Alt (Windows) or Option (Mac OS) key, grab any of the corner selection handles,
and drag outwards. By pressing and holding the Alt/Option key, you can force the scale to come from
the center, rather than from the corner you drag.
3
Release when the selection reaches the outside of the clock. Note that the outside of the clock is not
perfectly circular, so you will have to adjust the other handles to match the shape of the clock.