Graphics Programs Reference
In-Depth Information
Select the naming Presets.
The results.
Saving time with the Image Processor
If you process many images, you can stay right in Adobe Bridge. In this part of the lesson, you take ad-
vantage of the Image Processor feature in Adobe Bridge, but you can discover more automated features
in Lesson 11, “Zipping it up with Automation Tools.” In this part of the lesson, you'll select the images
in the Hotel folder, and convert them to low quality .jpgs, as well as reduce their overall size. This capab-
ility can be a huge time saver when processing images for websites or other applications.
1
In Adobe Bridge, double-click the Hotel folder to reveal the four images that you dragged in earlier.
2
Select Tools > Photoshop > Image Processor; the Image Processor dialog box appears.
If you do not have a Photoshop submenu under the Tools menu item, you might need to reinstall
Adobe Bridge, since it would not have recognized your Photoshop installation.
3
In the Image Processor dialog box, select the radio button to the left of the greyed out Select Folder in
Step 2. This will allow you to create a new folder on the Desktop to save your processed images into.
4
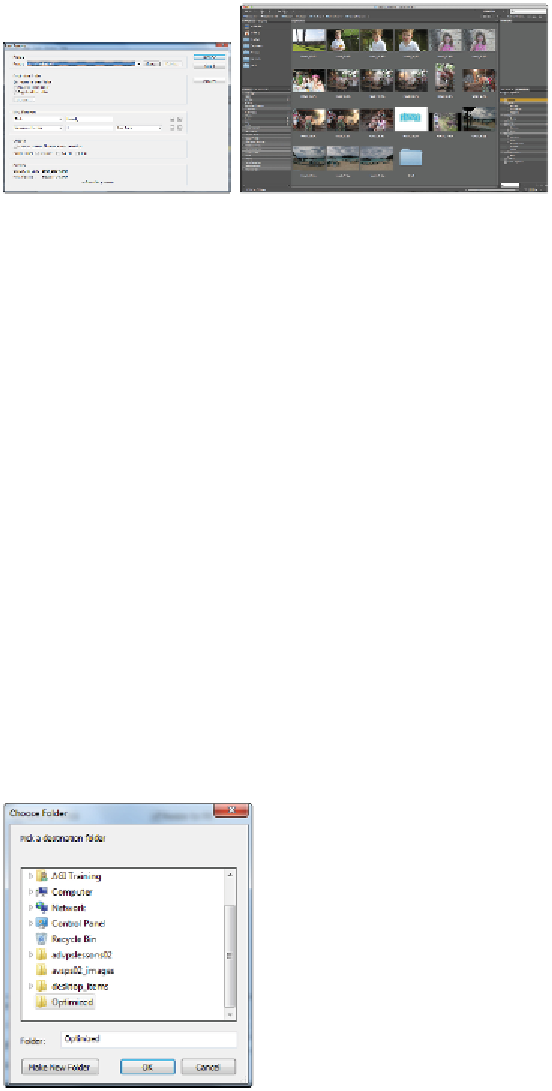
Click the Select Folder button, and in the Choose Folder dialog box that appears, pick a destination
folder by navigating to the Desktop and clicking Make New Folder. Name the new folder
Optimized
,
and click OK.
Choose to create a new folder for your processed images.