Graphics Programs Reference
In-Depth Information
Objects can be scaled in only one direction.
7
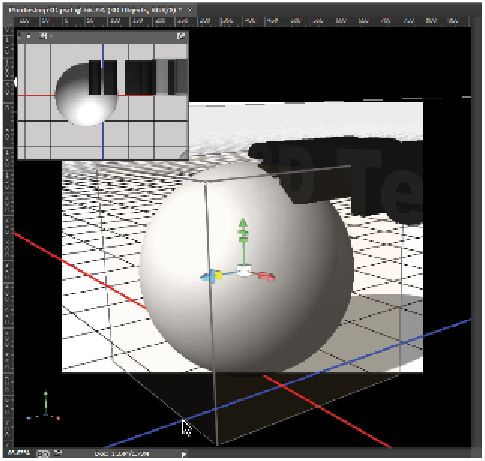
Select the Fleur-De-Lis and use the Move, Rotate, and Scale tools in the 3D Axis to position the Fleur-
De-Lis in front of the Sphere so it overlaps the sphere in 3D space. Scale the Fleur-De-Lis to fit inside
the sphere so it appears to be extending out from the sphere.
8
Select the Extruded Text object and position it above the sphere and Fleur-De-Lis objects. Adjust the
uniform scale as needed to size the text to surround the sphere.
9
Go back to your original viewing angle by clicking the Perspective View - All Objects at the bottom
of the 3D panel. This is the camera view you saved previously.
At this point, you have created several 3D objects and manipulated them in 3D space to create a complete
design composition. Next, you'll look at how to change the appearance of these 3D objects and render
them out as final 2D images.
Object appearances
Most of the 3D work that you do using Photoshop will eventually be rendered out as 2D pixels, so you
need to make sure the appearance of your objects is appealing. Every 3D object in Photoshop has one or
more materials assigned to it to define the appearance of its surfaces, from the color to how shiny or
bumpy it is. You should note that the appearance of a material in the final image is also a function of the
mesh surface and the lighting in the scene, so you should refine materials and lighting at the same time.
Before you change any of the materials in this lesson, you'll add more dramatic lighting.
Lighting
By default, your 3D layer has an Infinite Light assigned to it, so you have some light in the scene to view
your objects. This light simulates light coming from all directions and helps to avoid having very dark