Graphics Programs Reference
In-Depth Information
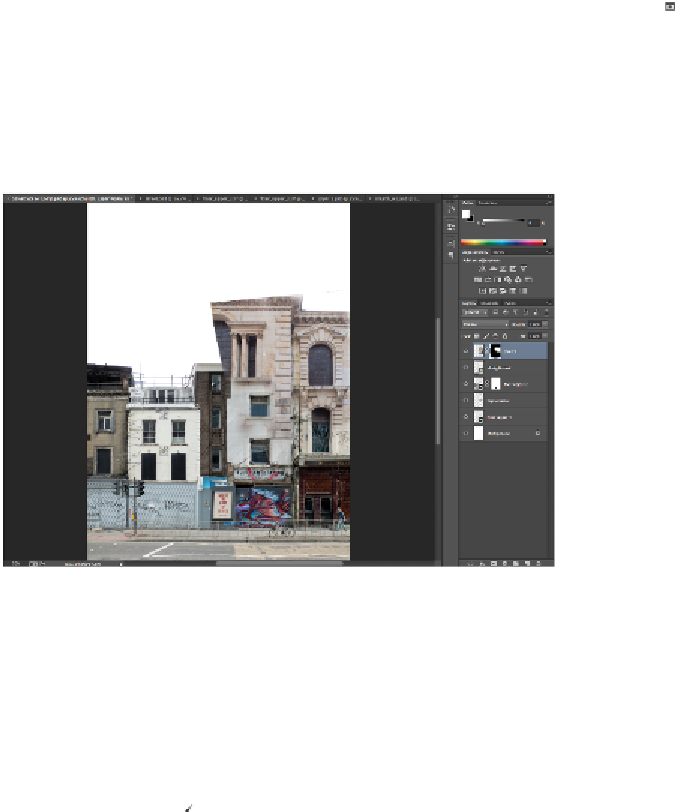
Blending the church
You will now create and paint on the mask of the church.
1
Create a new mask on the church layer by clicking the Add layer mask button ( ) at the bottom of the
Layers panel.
2
Press
D
to select your default colors in the color picker.
3
Paint out parts of the church straightened layer to create a convincing blend. Start at the bottom, re-
moving railings, bicycle, people, and work your way up. Take your time with this. Since you are using
masks, you can easily switch from hiding the layer parts (painting with black) to revealing the layer
parts (painting with white).
Blending in the church layer.
Removing some of the architecture
Once there's a nice blend, you will need to address the issue of missing architecture at the top of the
church. You have two options for solving this problem: one is to recreate some of the architecture, and
the other is to remove some of the architecture. In this lesson, you will remove some of the architecture.
Your first task will be to remove the portion of stained-glass window that's on the left, along with a bit of
the arch.
1
Select the Brush tool ( ), and then right-click the image to show the brush context menu. Scroll down
in the menu and select the Chalk 11px.
2
Verify that you have the church layer mask selected and then start painting with a 45-pixel brush. You
can then press the [ (left bracket) several times to create a smaller brush for details.