Graphics Programs Reference
In-Depth Information
1
Choose File > Open and locate the
church 1.psd
file located in the advps07lessons folder. Notice there
are two layers: one is the original, and the other has been straightened using the Adaptive Wide Angle
filter.
2
Make sure the Move tool ( ) is still selected, and then click and drag the straightened layer to the tab
for the Street Scene Comp. Do not release the mouse just yet. When the Street Scene Comp comes
forward, drag down to the image area and then release the mouse. The
church 1.psd
image has been
added to the Street Scene Comp image as a new layer.
3
Return to the
church 1.psd
file and choose File > Close.
4
Return to the Street Scene Comp image, double-click the new layer's name and type
church
straightened
.
5
Convert the church straightened layer to a Smart Object by right-clicking (Windows) or Ctrl+clicking
(Mac OS) the layer and selecting Convert to Smart Object.
6
With the church layer straightened, press Ctrl+Shift+right bracket (Windows) or Com-
mand+Shift+right bracket (Mac OS) to move the church straightened layer to the top of the layer
stack.
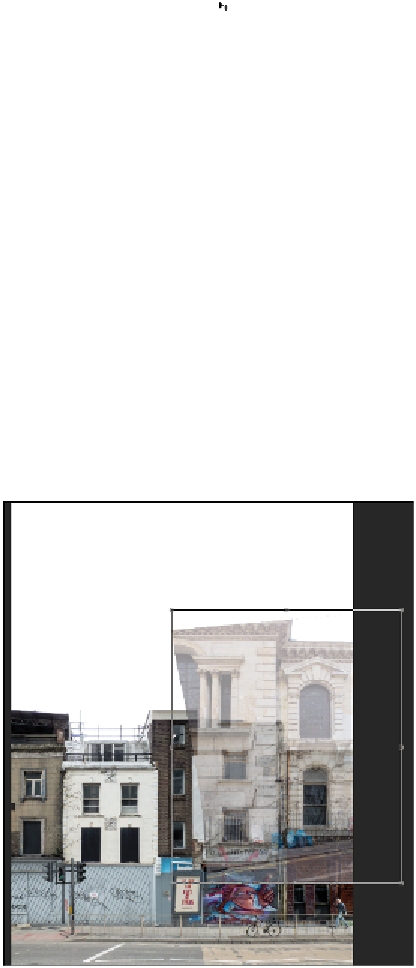
7
Press
5
to change the opacity of the layer to 50%.
8
Press Ctrl+T (Windows) or Command+T (Mac OS) to bring up the transform bounding box and visu-
ally scale the layer down in size so that it sits nicely on top of the two buildings at the right side of the
image. In this example the image was scaled down to approximately 48%. Once in place, press
Return.
9
Press
0
to bring the layer back to 100% opacity.
A subtle decorative feature has been added to the image.