Graphics Programs Reference
In-Depth Information
In this part of the lesson, you will take an amateur shot and use the retouching tools to remove unwanted
elements from the image and improve the lighting. You will start by opening the finished image.
1
Choose File > Open, navigate to the advps06lesson folder, and open the image named
ad-
vps0601_done
. An image of a frog appears. Choose Windows > Layers to see that quite a bit of work
has been done to this image to improve its appearance. You can keep this file open for reference or
close it now. Next, you will open your start file.
2
Navigate to the advps06lesson file folder and open
advps0601.psd
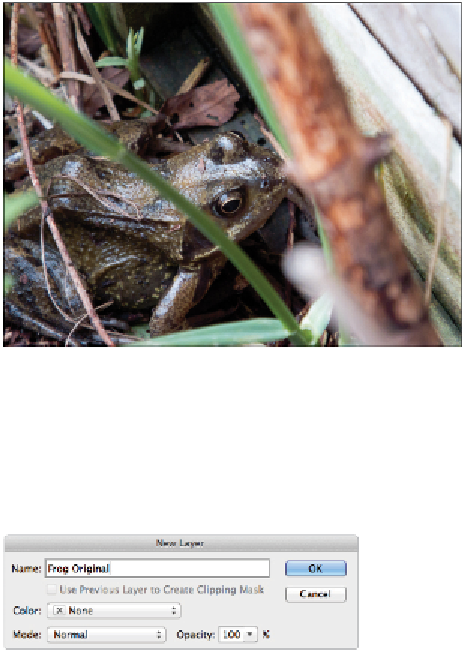
; an image of a frog appears. The
image has some elements in it, such as the blade of grass that should be removed.
The original frog image.
3
Choose File > Save As. When the Save As dialog box appears, type
advps0601_work
into the File
Name text field and make sure that you have the destination folder advps06lessons selected. Confirm
that the format is Photoshop, and then click Save.
4
Double-click Background in the Layers panel; the New Layer dialog box appears. In the Name text
field, type
Frog Original
and click OK.
Naming the layer.
Repositioning the branch
The first step in your retouching exercise involves moving the foreground branch away from the frog's
face to expose the snout. You will then eliminate the distracting blade of grass. Before starting, you will
extend the image canvas to the right by increasing the canvas size using the Crop tool. Note that you can
use the Crop tool not just to crop images, but also to extend an image's canvas by adjusting the handles.