Graphics Programs Reference
In-Depth Information
■
7
Name the file and save it to hard disk. The conversion process will now
take place.
■
8
Go to the File menu and select Import. Locate the CD file you just
exported and import this into the Browser. The sample rate has now
been converted to 48 kHz and will now match the rest of your project.
Converting Audio Sample Rates Using QuickTime Pro
Final Cut Pro and Final Cut Studio both come with QuickTime Pro. QuickTime
has been described as one of Apple's 'jewels' in the software stakes. It is cross-
platform and is used for video production, the creation of Internet content,
DVD authoring and even in mobile phone technology. It is not essential that
you understand a great deal about QuickTime other than to appreciate if it
weren't there video as we know it on the Mac would not exist.
Audio files on CD can be quickly and easily converted from 44.1 kHz to 48 kHz
using QuickTime. There are fewer stages involved than with the method
described in the previous pages. The advantage of converting directly to disk,
using QuickTime, is that you can open up your audio files directly in the
QuickTime Player and then convert the file before it is recorded to disk.
Therefore, you will only end up with one file which is sampled at 48 kHz.
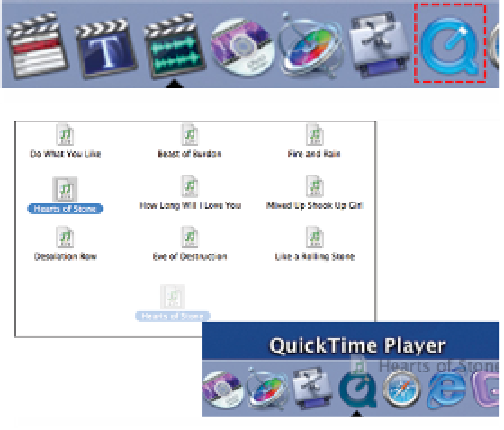
Before you begin drag the
QuickTime Player from your
Applications folder onto the
Dock for easy access.
■
1
Insert the CD into
your Mac.
■
2
Quit iTunes when it
opens.
Drag the CD Track onto
the QuickTime Player
■
3
Double click the CD
on the desktop to
open it.
■
4
Choose an audio track and drag it onto the QuickTime Player on the Dock.